Baked Chicken Meatballs…like are they a thing?
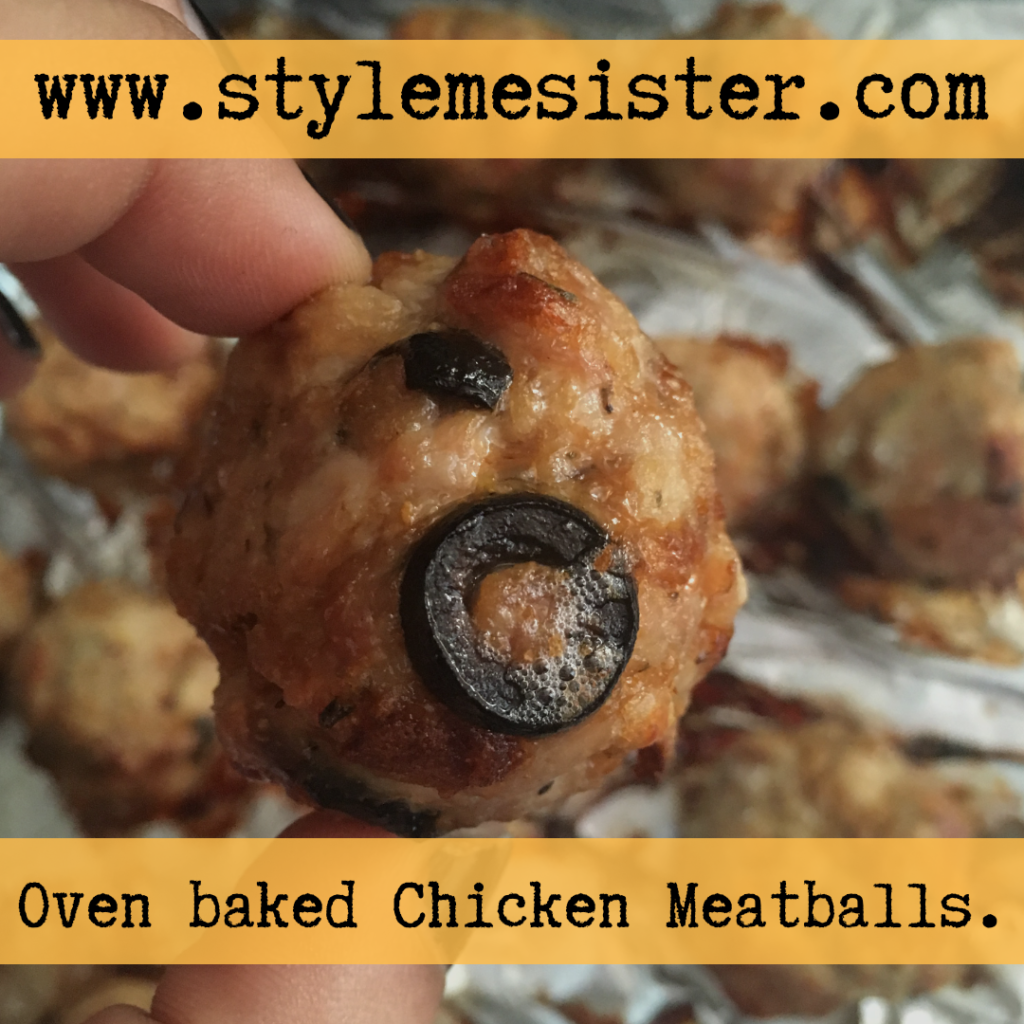
Quick, easy, healthier than a lot out there…ladies and the odd gent I present to you Chicken ‘Meatballs’.
Give me a Kofta Curry and I’m happy. Give me some Kefta Kebabs and Naans and I’m also happy. Give me a meatball sub with some extra hot sauce and I’m happy….I love a good meatball.
As you know we are constantly being encouraged to focus on healthier recipes. Focus on reducing fats, salts and sugars in our diets. We are also encouraged (and quite rightly so) to get our children eating healthier from a young age so it’s a habit and lifestyle rather than a chore.
Recently I got playing in the kitchen and with Chicken mince being around £2.69 per KG at my local Butchers I decided I would make some ‘meatballs’.
Cheaper meat, leaner too. And if I play my cards right I can bake them off in the oven and reduce the fat too.
And believe it or not I’ve created a meatball the girls actually adore. And I’m happy because a simple bit of prep work means I can create, bake and freeze a few meals in next to no time…
To make these awesome meatballs (enough for 3-4 or more depending on the age of those you are feeding) servings you will need:
- 500 grams chicken mince
- About 16 olives chopped
- Zest of 1 lemon finely chopped
- 1 tsp salt (or to your taste)
- 1/2 TSP dried thyme (leveled spoon not heaped)
- 1/2 TSP dried oregano (leveled spoon not heaped)
- Juice of one lemon
- 2 heaped TBSP breadcrumbs
- OPTIONAL flavourings:
- 2 sun dried tomatoes finely chopped
- 1 heaped tablespoon of crumbled feta (if you do decide to add feta reduce the salt intake).
- Chili Flakes-if you want some need.
- To bake:
- Spray oil ( 1 Cal spray works, as do other varieties)
- Baking trays (1 large pan will be enough or two smaller ones)
- Kitchen Tongues
- Greaseproof paper
1) Line the baking trays to keep cleaning to a minimum. Preheat to oven to 170 (160 on a fan assisted oven).
2) Place all the ingredients in a large bowl and with your hands mulch it all together. Yes it’s a messy job but dammit it will create awesomeness in the form of springy healthy meatballs!
3) Once you’ve mixed all the ingredients together take a tablespoon amount of meat mixture and form into a meatball using wet hands. Place on the greaseproof sheet. Leave a gap between the meatballs.
4) Repeat the process until you’ve used all the mixture.
5) Spray each meatball once with the oil.
6) Now bake for 10 minutes.
7) Remove from the oven and carefully turn the meatballs over using the tongues. Spray the other side of the meatballs with oil. Place back in the oven and bake for 15 minutes. Turn the oven off.
8) Allow to meatballs to ‘rest’ for 2/4 minutes and then serve. I add my meatballs to a simple sauce which I have featured before here:
To make this recipe extra healthy you can serve the meatballs with wholemeal spaghetti.
NOTES: If your meatballs release any liquids do not panic. This is a normal part of the cooking process. The amount you find really does depend on many factors so don’t worry yourself too much on the science. Think of the flavour.
Mini meatballs make great canapes.
Making meatballs can be fun and messy for younger children.
Meatballs can be cooked, cooled and frozen successfully for up to 3 months without losing texture etc.