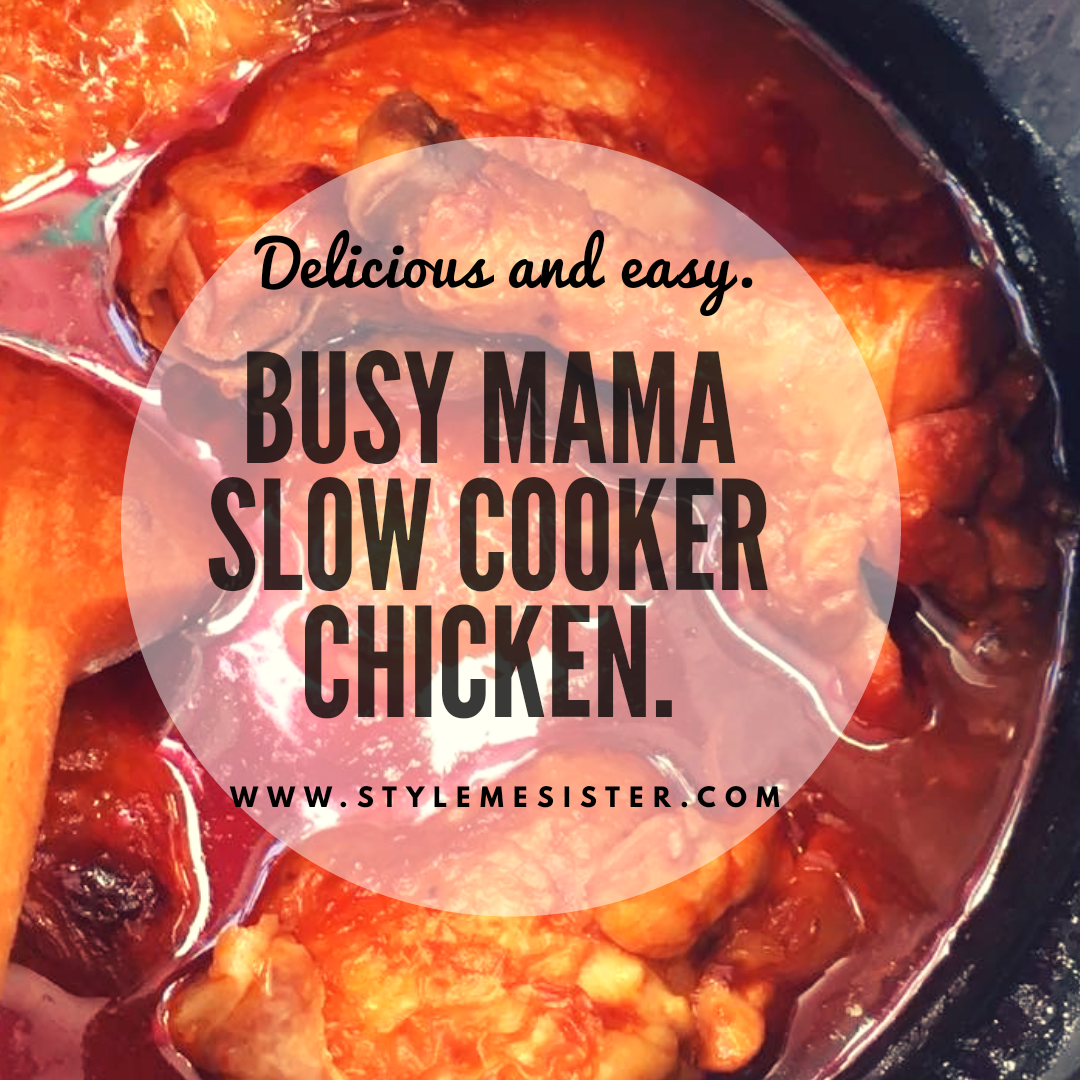
Busy Mama (or Baba) Slow Cooker Chicken
I admit that this is more of an instructional tutorial than recipe however if I’m completely honest with you on nights where you are more likely to reach for a fattening takeout or ready meal cheats like this are awesome.
By no means am I saying feed your family this every night however let’s be honest here. Sometimes we need a meal we can prepare whilst juggling a clingy baby, a toddler crying over toys that have somehow ended up down the toilet and a boss that wants to know when you think you’ll be returning to work FULL time.
My children love this recipe (as do I). The only effort in this recipe is the actual browning of the chicken.
Once I’ve browned the chicken it’s pretty much throw stuff into the slow cooker and forget about it until you need to prepare the rice to serve with it (I served the chicken with basmati rice).
Did I mention this meal works out at less than £0.75 per head?
So to put together this super easy meal (that serves 4/6) you will need:
6 pieces of chicken (I purchased three legs, skin on cut in half)
1 tablespoon oil
For the sauce:
60 ml dark soya sauce
3 tablespoons honey
80 ml tomato ketchup (for an extra kick you can use flavoured ketchups)
8 cloves of garlic-crushed
Juice of 2 limes
Optional: salt to your taste (remember that soya sauce is very very salty!)
Optional: 1 teaspoon chili flakes (for some heat!) OR 1 tablespoon chili sauce
To serve:
I served mine with rice. If you are on a low carb diet replace with cauliflower rice.
1) Heat the oil on a medium heat in a large pan. I use a non stick large frying pan.
2) Add the chicken pieces and fry for 5 minutes per side (I find this browns and crisps the chicken nicely. Always check your chicken whilst cooking it to avoid burning it).
3) Once the chicken is browned drain on some kitchen paper and set aside.
4) Now make the sauce. Pour the dark soya sauce, honey, ketchup, garlic, lime juice and optional ingredients (if using) into your slow cooker and stir to mix. You could use a whisk if that’s more convienent.
5) Add the chicken to the sauce. Spoon some of the sauce over the chicken. Cook on slow for 5 hours. If you are cooking on the high setting check your chicken after 2.5 hours. Remember that chicken on the bone cooks slower than boneless.
6) Check your chicken at half way and baste it with the sauce (your chicken is highly unlikely to dry out but we want maximum flavour).
7) Your chicken is ready to serve.
Notes: if you do wish to add salt please do so towards the end of the cooking process after tasting salt content. I find it easier to add salt that take it out if you over salt a dish.
Leftovers make great lunches the next day.
Or you can shred the chicken and make sliders (sandwiches).