Banana Cake

Stylemesisteradmin
November 9, 2018

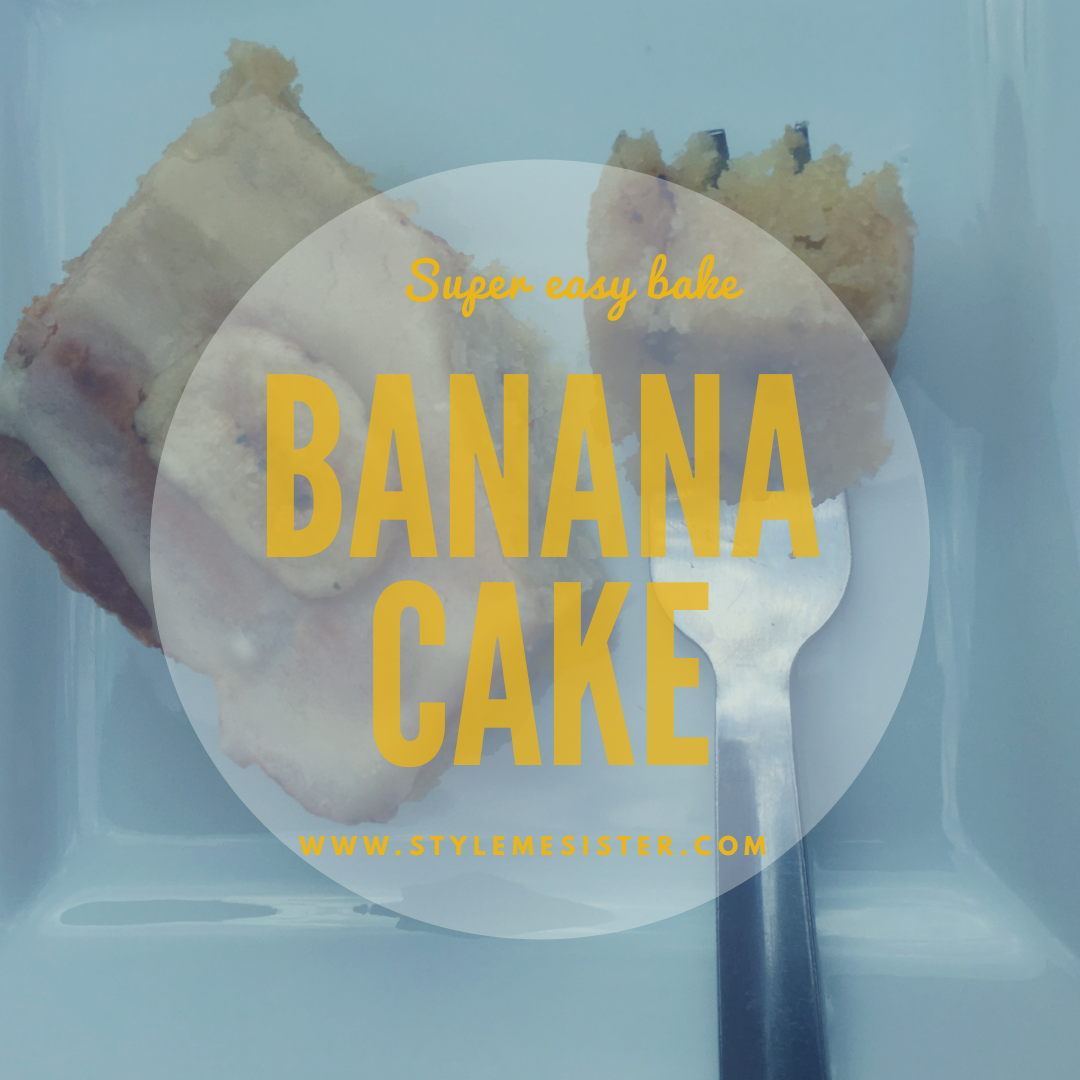
Banana Cake with frosting

I love bananas however my girls are not so keen on them so once in a while I find very ripe bananas in my fruit bowl and as someone that really does had waste I developed a Banana cake. Yes Banana bread is bloody awesome however cakes go down easier with my two.

I’ve added chocolate chips to this cake however feel free to omit them.

Ingredients:

125 grams butter softened
260 grams castor sugar
1 tsp vanilla flavouring
2 large eggs beaten
250 ml low fat yogurt
260 grams plain flour
1 tsp baking powder
1/2 tsp salt
3 large ripe (or over ripe) bananas mashed
50 grams chocolate chips ( I used milk chocolate chips)

Icing:

110 grams cream cheese
50 grams butter
300 grams icing sugar
Banana Chips-OPTIONAL

1) pre heat your oven to 170/350/gas mark 4. Grease a 9 inch square pan.
2) beat together the sugar and butter.
3) Add the beaten eggs, yogurt and vanilla. Beat more. Don’t worry if it looks curdled; this will change when you add flour.
4) Add the flour, salt and baking powder and mix well.
5) Add the chocolate chips and mashed bananas and stir to combine.
6) Tip the mixture into the greased pan and bake for 35 minutes until lightly golden brown and a tooth peak comes out clear when you poke it in the middle of the cake.

Allow to cool completely. I usually leave the cake in the pan for 20 minutes and then transfer it to a cooling rack until it’s completely cool before attempting any icing.

To make the icing:

1) beat together the cream cheese, butter and icing until it forms an icing.
2) Spread onto the cooled cake. Cut into squares and serve.

I like to add banana chips to the top as decoration. This is purely optional. Enjoy!


Dead mans ribs…

Stylemesisteradmin
October 26, 2018

Dead man ribs

I’m a huge fan of ribs but the sugar content of marinades puts me off…So here we have a recipe that is sweet, sticky but also a bit tart (thank you lemons).

I originally made this recipe for Halloween 2017; but I love it any time of the year.

I first cook the ribs in the slow cooker…and finish them off in the oven. You can just cook them i the oven if that makes it easier for you (I just wanted the meat to fall off…completely.

These guys actually taste awesome the next day too.

Serve with lots of napkins!

Ingredients:

1 KG mutton ribs (we asked for them to be chopped up)
1 1/2 cup ketchup
OR 1 cup ketchup & 1/2 cup chili sauce (if you want a fiery rib baby)
1/2 cup honey
1/2 cup lemon juice
1 tsp cayenne pepper
1/2 TBSP garlic powder
1/2 TBSP onion powder

1) Wash all the ribs and dry.
2) whisk all the ingredients together.
3) place the ribs in a ziploc bag (plastic food bag that can be sealed) and pour in 80% (the majority of the sauce) into the bag. Seal carefully and massage the ribs to get them covered in the sauce.
4) Leave to marinade overnight or for at least 3 hours; in the fridge.
5) To cook in the slow cooker: place the marinated ribs (and the sauce in the bag) into your slow cooker and cook on high for 3 hours.
6) Remove from the slow cooker (leaving any liquid in the slow cooker to dispose of) and place on a baking tray lined with greaseproof paper. Brush over the sauce you kept at step 3.
7) Bake in the oven at 180 for 15 minutes turning once and brushing with any remaining sauce.
8) Serve with plenty of napkins! The meat will be falling off….

Zesty Citrus Slices

Alliyah Dawud
November 2, 2017

Zesty citrus slices

I absolutely love citrus fruit. My favourite has to be lemons closely followed by limes. Lemons are just so versatile. From being the feature of a lemon drizzle cake to being a star of a tagine and not to forget good old lemonade.

So when I was looking for something awesome without cocoa powder citrus popped up in my mind.

These slices are great. Extremely easy to make and versatile as you can switch up the citrus fruit to suit your fruit bowl.

I’ve tried the following:
Lemon and lime
Lime
Orange and lemon
Orange
Orange and lime

So as you can see you can mix and match the citrus to suit your needs. My favourite is pure lemon which I believe goes really well with mint tea (Arabian style).

Ingredients:
180 Grams plain flour
80 grams icing sugar
180 grams margarine or other solid fat suitable for baking (softened/melted)

For the citrus filling
3 eggs
Juice of 3 citrus fruit (or two if you are using oranges. So you can use 1 lemon and 1 orange) . Don’t forget to strain the juice.
Zest of the citrus fruits
270 grams caster sugar

Extra icing sugar for decorating

1) Preheat the oven to 375F (160 C). Grease a 19cm by 19cm square square pan. I use Wilton Cake Release greaser as it has never let me down and is less messy than traditional butter and flour.

2) In a large bowl combine the plain flour, icing sugar and margarine. Use a wooden spoon. What you’ll have is a rough dough like mixture. That’s fine. It’s meant to look like that.

3) Tip the flour mixture into the pre-prepared pan and pat down (pushing into the corners too). Try to level out the mixture as much as possible.

4) Now place in the oven and bake until lightly golden (approx 25 minutes).

5) Whilst the pastry layer is baking create the filling. In a large bowl (go on; wash the bowl you used the create the first layer) add the eggs, caster sugar and zest whisk. Now add the citrus juice and whisk a bit more.

5) take the pan out of the oven. Pour over the filling mix. Return to the oven and continue to bake until lightly golden ( check after 20 minutes to ensure you don’t burn it. My slices took 30 minutes to become golden brown).

6) Take out of the oven and allow to cool completely.

7) Dust with icing sugar and slice into 9 slices.

8) Serve with a nice cup of Mint Tea/Coffee or whatever you prefer.

Keep these slices in an airtight container and eat within 5 days.

NOTES:
For an extra citrus kick add the zest of one fruit to the dough mixture.


OMG OREO BROWNIES

Alliyah Dawud
October 12, 2017

Easiest Oreo Brownies like ever

Hands up who likes a good brownie. I see some of you are in denial. Well I ain’t going to lie to any of you. I love brownies. Maybe because they are easier to put together than a cake that needs decorating. Or maybe because I can adjust the flavouring ingredients to reflect what I have in my leftover chocolate jar (yup there is such a thing).

I love one bowl recipes because of the lack of post clean up required. If you have baking these for a bake sale you can even use foil disposable trays/containers so you don’t need to worry about losing your favourite platter plate post event.

I’ve used the original flavour of oreos for this recipe. Let me know if you try other varieties and how they work out.

Ingredients:

9 whole oreos (to make the stuffed oreo brownies)
3 oreos chopped up (optional to decorate your brownies)
150 Grams butter/other solid fat suitable for baking (I personally use Stork or store brand) Softened/melted. You can use the microwave to blast it.
225 Grams Castor Sugar
65 Grams Cocoa powder
Pinch of salt
1 tsp vanilla flavouring or extract
2 eggs (large)
60 Grams plain flour

1) Preheat your oven to 325 F (160C). Line a 19 by 19 cm square pan (the easiest way to line one I found was to basically take a roll of foil and place it in the pan and leave excess foil on both ends so there’s overhang. Then repeat the process to cover the other two ends. Again leave excess to create overhang. It will look a bit like a cross. Yes there won’t be foil lining right up in the corners however that’s fine. You won’t be removing the brownie until it’s cooled so it’s fine. Don’t worry!

2) In a large bowl beat together the margarine, sugar, pinch or salt and cocoa powder. As you beat it (anyone else hear MJJ song right now?!) you’ll notice it looks grainy and well not very brownie like. Don’t worry. It’s normal.

3) Add the eggs and beat further.

4) Now add the flour and vanilla. Beat to encorporate the ingredients in.

5) Now take half the mixture and pour it into the pre-prepared pan. Now add the oreos. Cover with the remaining brownie mixture and smooth over with a bread knife/palette knife or other suitable kitchen utensil.

OPTIONAL: You can scatter the crushed/chopped oreos on top if you are using them.

6) Place the brownie on the middle rack of your oven. Bake for 30 minutes (please note: I like my brownies sticky but not gooey. So 30 minutes does that. If you prefer gooey ones take the brownies out earlier around 25 minutes).

7) Once the brownie is baked take it out of the oven and allow to cool completely before removing from the pan.

If you’ve lined the pan as I do (using two pieces of foil) you’ll need to gently lift out the brownie using the handles.

8) Remove from the pan and slice into 9 pieces.

Voila. Job done.

If the calorie count isn’t enough for you you could warm the brownies and serve with a scoop of vanilla ice cream and drizzle with chocolate sauce.

Enjoy!

NOTES:

You can easily double this recipe.

These brownies freeze well for for 8 weeks. Wrap individually in greaseproof paper, and then wrap in foil and place in a zip lock style bag or airtight food box.