I love cooking however I don’t always have time to leisurely cook and that’s where my kitchen short cuts come in.
I use gram lentils quite a bit. They are the base ingredient of vegetarian kebabs, Pakistani Bun kebab and also my favourite spinach and gram lentil curry. But I’ll be honest with you. I dislike having to watch food simmer on the stove for hours. It’s just not in my nature. I’ll happily place something in the oven and leave it for hours but on the stove? Nope. Just not happening.
I discovered a while ago that you can pre-cook and then FREEZE gram lentils to create meals that slash the time on stove top simmering. A revolution!
Since then I boil approximately 900 grams of Gram Lentils in my rather large Slow Cooker on high for a good few hours (mine took 5 hours to cook to the tenderness level I required), cool then and then freeze them up in portion sizes I know I will use.
I also do this with green lentils (for my tacos). If a lentil is going to take hours I’d rather go through the pain of pre-boiling in a slow cooker, cooling and freezing instead.
So here is my method:
1) I wash the lentils and then soak them for around a hour.
2) I place them in the slow cooker to boil HOWEVER I add the following ingredients to my 900 grams of lentils for a bit of flavour penitration. Here’s my recipe:
900 grams Gram Lentil
As much water as you can add to the slow cooker. If you find your slow cooker is on the small side boil half the amount of daal. Simples.
1 onion-halved
1 large piece of ginger-whole (skin can be kept on)
4 whole cloves of garlic peeled only
Salt-to your own taste
1 TBSP chili powder OR 5 dried red chilies
1 TBSP turmeric (Haldi)
2) Place all the ingredients in the Slow Cooker and turn to high. Check on your lentils every hour or so and give them a stir.
3) After a few hours your Lentils will be tender. I don’t let the lentils turn to ‘mush’ and leave a little bit to allow me to ‘cook them out’ when I use them on the stove.
4) Drain the lentils (because if you leave them in the Cooker they will cook further) and allow to cool. Fish out the garlic, ginger and onion. Throw them away.
5) Decant the lentils into suitable freezer bags (or containers), label and freeze!
6) To defrost: you can do this in the Microwave or leave the bag overnight in the Fridge.
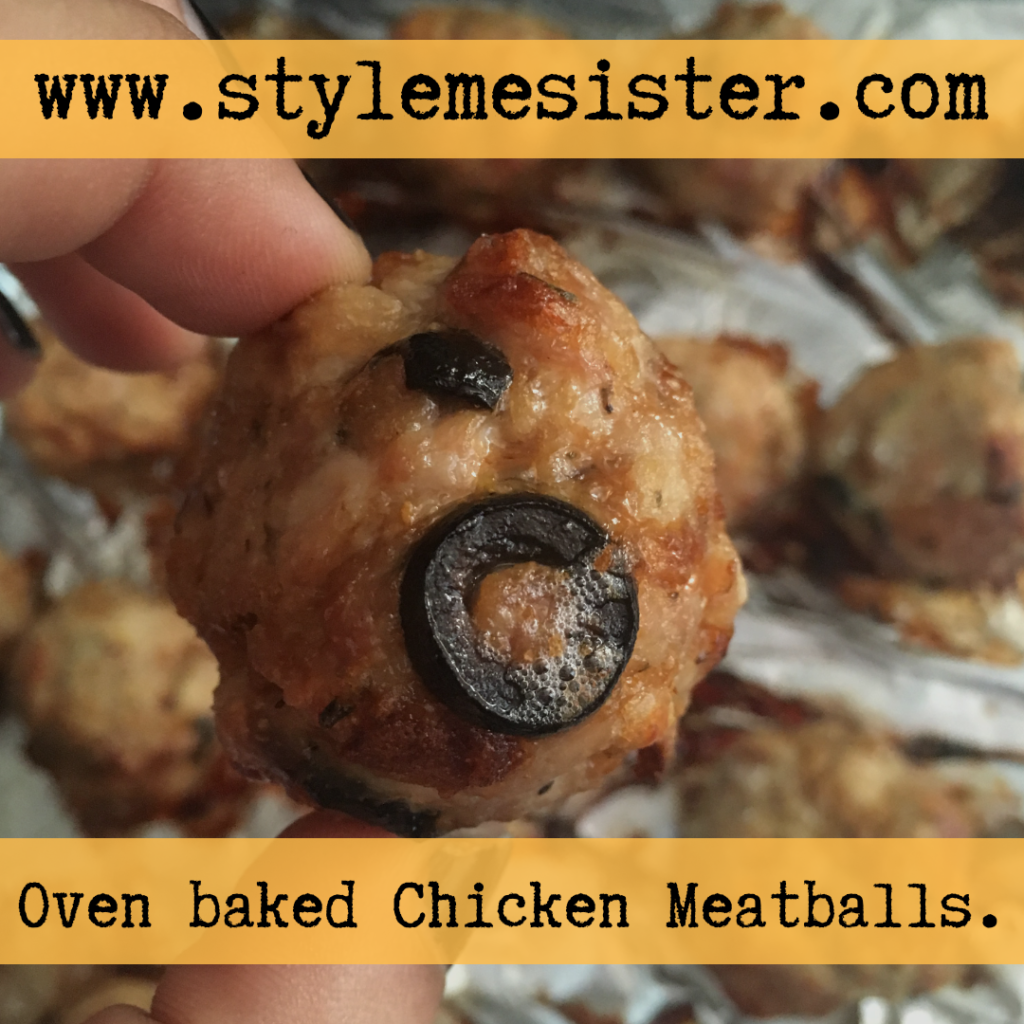
Quick, easy, healthier than a lot out there…ladies and the odd gent I present to you Chicken ‘Meatballs’.
Give me a Kofta Curry and I’m happy. Give me some Kefta Kebabs and Naans and I’m also happy. Give me a meatball sub with some extra hot sauce and I’m happy….I love a good meatball.
As you know we are constantly being encouraged to focus on healthier recipes. Focus on reducing fats, salts and sugars in our diets. We are also encouraged (and quite rightly so) to get our children eating healthier from a young age so it’s a habit and lifestyle rather than a chore.
Recently I got playing in the kitchen and with Chicken mince being around £2.69 per KG at my local Butchers I decided I would make some ‘meatballs’.
Cheaper meat, leaner too. And if I play my cards right I can bake them off in the oven and reduce the fat too.
And believe it or not I’ve created a meatball the girls actually adore. And I’m happy because a simple bit of prep work means I can create, bake and freeze a few meals in next to no time…
To make these awesome meatballs (enough for 3-4 or more depending on the age of those you are feeding) servings you will need:
500 grams chicken mince
About 16 olives chopped
Zest of 1 lemon finely chopped
1 tsp salt (or to your taste)
1/2 TSP dried thyme (leveled spoon not heaped)
1/2 TSP dried oregano (leveled spoon not heaped)
Juice of one lemon
2 heaped TBSP breadcrumbs
OPTIONAL flavourings:
2 sun dried tomatoes finely chopped
1 heaped tablespoon of crumbled feta (if you do decide to add feta reduce the salt intake).
Chili Flakes-if you want some need.
To bake:
Spray oil ( 1 Cal spray works, as do other varieties)
Baking trays (1 large pan will be enough or two smaller ones)
Kitchen Tongues
Greaseproof paper
1) Line the baking trays to keep cleaning to a minimum. Preheat to oven to 170 (160 on a fan assisted oven). 2) Place all the ingredients in a large bowl and with your hands mulch it all together. Yes it’s a messy job but dammit it will create awesomeness in the form of springy healthy meatballs! 3) Once you’ve mixed all the ingredients together take a tablespoon amount of meat mixture and form into a meatball using wet hands. Place on the greaseproof sheet. Leave a gap between the meatballs. 4) Repeat the process until you’ve used all the mixture. 5) Spray each meatball once with the oil. 6) Now bake for 10 minutes. 7) Remove from the oven and carefully turn the meatballs over using the tongues. Spray the other side of the meatballs with oil. Place back in the oven and bake for 15 minutes. Turn the oven off. 8) Allow to meatballs to ‘rest’ for 2/4 minutes and then serve. I add my meatballs to a simple sauce which I have featured before here:
To make this recipe extra healthy you can serve the meatballs with wholemeal spaghetti.
NOTES: If your meatballs release any liquids do not panic. This is a normal part of the cooking process. The amount you find really does depend on many factors so don’t worry yourself too much on the science. Think of the flavour.
Mini meatballs make great canapes.
Making meatballs can be fun and messy for younger children.
Meatballs can be cooked, cooled and frozen successfully for up to 3 months without losing texture etc.
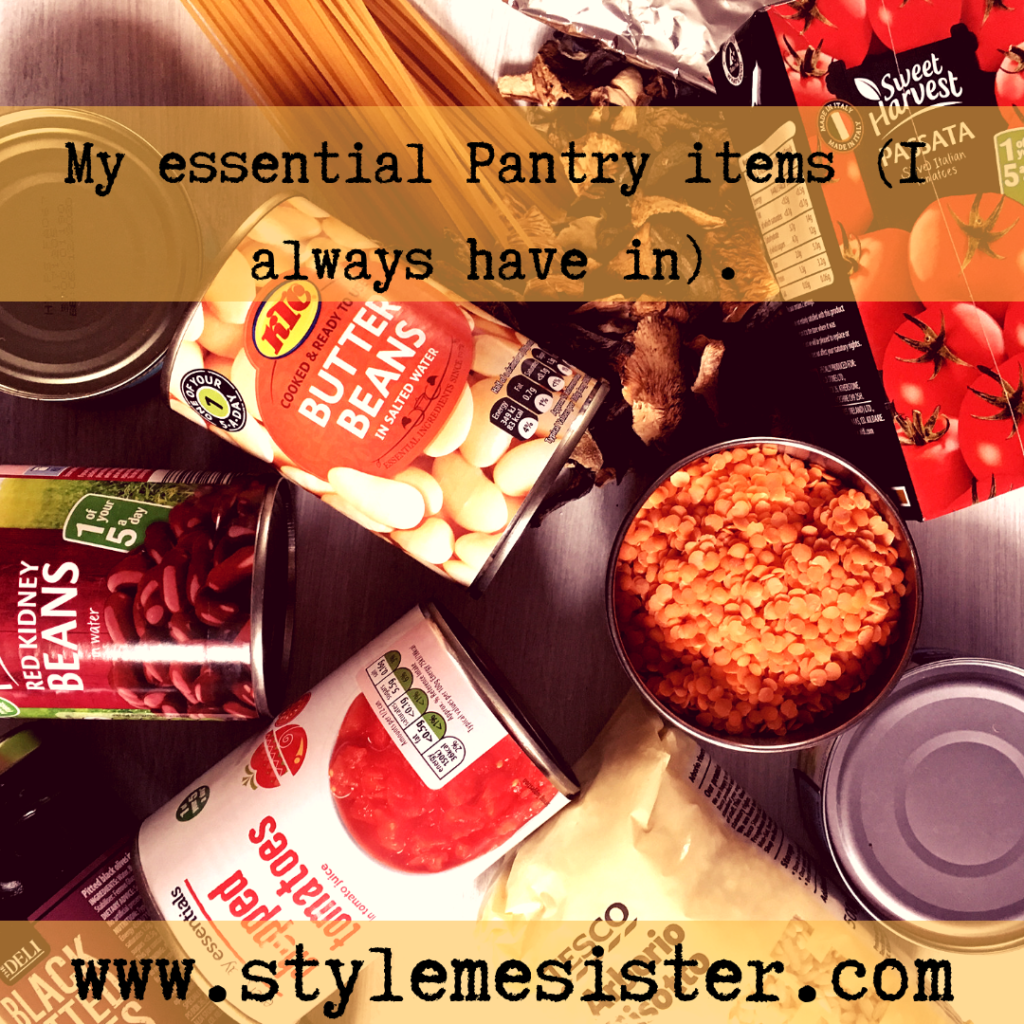
I hardcore meal plan; however even I will admit there are times when planning can and will go wrong (e.g. you forget to pick up Naans for the curry and have no rice in your pantry). So I have a good stocked Pantry…actually it’s a wall cabinet. My kitchen doesn’t have a Pantry…but for the sake of the average reader we’ll stick to my imaginary Pantry.
1) Dried Mashed potatoes
This is most probably my most favourite item. Cheap and effective when you compare the price of potatoes, time taken to prepare them and the power it takes to cook them.
How I use them: in alu tikkis (which I serve as tikki burgers too), shepard’s pie topping, as mashed potato, potato cakes, potato pie…there’s so many ways to use them.
2) Tinned lentils and pulses (in particular red kidney beans, chickpeas, white kidney beans, black eye peas amongst others).
How I use them: I add them to stews, curries, cous cous, salads, mash them up as an alternative to potato mash, make tikkis (kebabs), add to chilis…and so on. You can make some great quesadillas from Pantry items too!
3) Chopped tomato tins
These guys are the king in the kitchen. The base of curries, soups, pasta sauces and bakes….these guys rule really. You can get tinned tomatoes with garlic and herbs added too which are great for pasta sauces.
How I use them: pretty much in what’s listed above! A staple in many recipes. I’ve also been known for adding a bag of pre cooked meatballs, herbs and a tin of tomatoes to the slow cooker to make a quick pasta sauce that I don’t have to stand over the stovetop to cook them.
4) Dried wild mushrooms
In all honesty I know you guys are looking at the screen thinking I’ve gone posh. Hear me out. These guys are a bit more posh than standard mushrooms but sometimes you need to treat yourself to something a bit more exotic.
I add these to risotto rice and make a simple baked risotto. I also add them to pasta sauces too. I love these guys. You can fry some off with garlic and top bruchetta for a supper.
How I use them: soak them first as per packet instructions and then use them as required. Great in risottos.
5) Various rices e.g. paella, risotto, basmati.
The list is endless to why we need carbs in the Pantry but most dishes call for them (especially one pot type or family meals).
How I use them: I use basmati in pulao rice dishes, paella rice in paellas and risotto rice in oven baked risottos (which require no stirring-yay). Also great for serving with curries or stir fries. There are other varieties too e.g. Jasmine, sushi, pudding.
6) Various Pastas
I keep a range of pastas around from spagetti to macaroni.
How I use them: in bakes, with sauces, in soups…. I’d say pastas are the top UK carb (or in the top three). Cheap and filling too so work out for budgets too.
7) Cous Cous and other ‘grains’
I love moroccan food and if you offer me a holiday to Marrakesh right now I’m likely to beat you to the airport. Cous Cous go great with Tagines and also with seekhs, kebabs (as a nice side dish) and also make a great salad too.
How I use them: with Tagines, as an alternative side to rice and in salads.
8) Dried herbs/spice blends/rubs/waters
I have loads of these and in all honesty could write a huge article on them. To save you time I will say look at what type of foods you enjoy and stock up in accordance to that. So if you love making curries go for chili powder, tumeric, cumin powder and coriander powder. You can also purchase whole ‘garam masala’ and grind some as when needed (the ready grinded stuff is horrible).
Rubs: you can make your own signature blend again depending on your own preferences.
Herbs: if you love pasta and pizza mix a batch of Italian inspired herbs to keep on hand to add a bit of snazzy to your meal.
There’s also more ‘posh’ things you can add to the Pantry such as dried rose petals, saffron and rose water.
9) Pizza Base mix packets
All you have to do is add liquid, knead and voila homemade pizza!
How I use them: with passata, herbs and cheese for a simple pizza for making homemade calzones.
10) Plain and Self Raising Flours
If you want to introduce the children to cookery baking is a great way…and should keep their attention too!
How I use them: in cakes, blondies, pie crusts, homemade naans… the list is endless.
There’s a host of flours you can try on the market. You can get strong flour to make your own bread. Rye flour for an alternative flavour…get experiment if you want to get the children involved too.
11) Sugars
If you enjoy baking there’s a huge possibility that you need sugars. I have castor sugar, granulated sugar, soft light brown sugar, soft dark brown sugar and sugar crystal sticks.
How I use them: I use castor sugar is most cakes. Blondies call for brown sugar. I use dark brown sugar in caramels. Granulated sugar is used to make sugar syrups. Sugar sticks are used in things like mint tea (or as a photo prop if you are a food photographer).
Tip: you can make your own flavoured sugars really easily. Just add the flavouring to a jar (e.g. a tablespoon of rose petals and a level tsp of fennel seeds to 500 grams of castor sugar to make rose and fennel flavoured sugar for cookie making.
12) Cocoa Powder
Cocoa is a bakers best friend. And also makes great hot chocolates too.
How I use it: in brownies and fresh made from scratch hot chocolates.
13) Various chocolate bars
I have a range of bars in stock at home. From the cheaper 100 gram plain bars to mars bars and so on. And no I don’t spend all day gauging on chocolate.
How I use them: I add them to cookies, ice cream, chop them up and add them to ice-cream sundae bars, melt them down with double cream and make naughty sauces…..
14) Old Fashioned oats
One of the best grains out there.
How I use them: in overnight oats, traditional porridge and in my favourite chocolate chip and oat cookies! Can also be added to smoothie bowls to make the smoothie more filling. You can also make granola with them.
15) Long life milk
As a parent my fear is running out of the white stuff….
How I use them: as a standby for if I forget to go the stores. When the date is nearly running out I can make porridge, rice pudding etc etc. Milk is never wasted in my house.
16) Vac packed Naans and Tortilla wraps
Sometimes you simply forget things and that’s fine. These guys are heroes (especially the wraps when you are preparing packed lunches for children).
How I use them: Pantry quesadillas, burritos, torilla ‘lasanga’ and the naans with a curry or kebabs.
17) Dried (dehydrated) garlic and onions. And fried onions too.
Fried onions are my favourite for making a quick pulao or curry (no cutting or frying off onions what’s not to love right). I use dried garlic and onions in ‘tarka daal’ which is my favourite comfort food ever.
How I use them: in tarkas, garlic in pasta sauces, fried onions in curry and pulao bases. No onion cutting=no tears or headaches.
18) Dried lentils
In all honesty I cannot see a Pantry with no lentils in it. Is this because I’m Asian? Possibly.
How I use them: mainly in daal (lentil curry) dishes. Masoori (split red lentil) is ready in less than 20 minutes. What’s not to love about a protein packed curry like that?
19) Jarred olives (green and black, stuffed too)
Olives add a great punch of flavour to dishes as well as being something the girls can graze on (always rinse them off first).
How I use them: in pasta sauces, smashed up on brushetta and as part of my girls snack boxes.
20) tinned/jarred fish
I love anchovies! I cannot get enough of this salty delight. I also love tuna….
How I use them: I use anchovies in my quick pasta sauce dish. I use tuna in salads, in sandwiches and in quick tuna fish cakes (using dried mash potatoes).
And that concludes my top 20. What’s on your list? Drop your comments below or why not share your essentials on our Social Media.
I admit that I actually include store bought Pizza on my meal plans and if I’m totally honest those nights are pretty hassle free when it comes to time in the kitchen.
Over the last few years I have picked up some hacks I use daily and some that I don’t event get how they made it to pinterest (but that’s a different story).
One hack that I recommend to everyone is bulk cooking; but in various formats.
If like me you use your Slow Cooker (aka Crockpot) at least once or twice a week this hack is going to be your bestie…just trust me on this.
When I talk to friends about using a Slow Cooker for making curries or sauces I often get met with the looks and comments that ‘it won’t taste right because the meat wasn’t browned!” which is quickly followed by “my family will never eat it as it tastes bland/different”.
One of the reasons I started using my slow cooker was to reduce the amount of time I spent in the kitchen. I felt I was tied to the cooker and wasn’t enjoying my food and developing poor editing habits. I started to dislike cooking and that was a problem for me. I never want my children to think cooking is a chore; I’m a believer that everyone should have the skill to cook healthy food. I don’t know where my girls may end up at University level so I honestly want them to have cookery skills and also enjoy the time they spend cooking (after all if you’ve got to do it why not enjoy it?).
We enjoy curries, mince based pasta dishes, casseroles….various meals as a family. A lot of these dishes call for braising of the the meat before adding liquids and the other ingredients. Now on some slow cookers you have this function which is bloody awesome! But not all models have this. Which is a shame.
Considering how simple I like to keep things when I cook things in the slow cooker I decided to do the following:
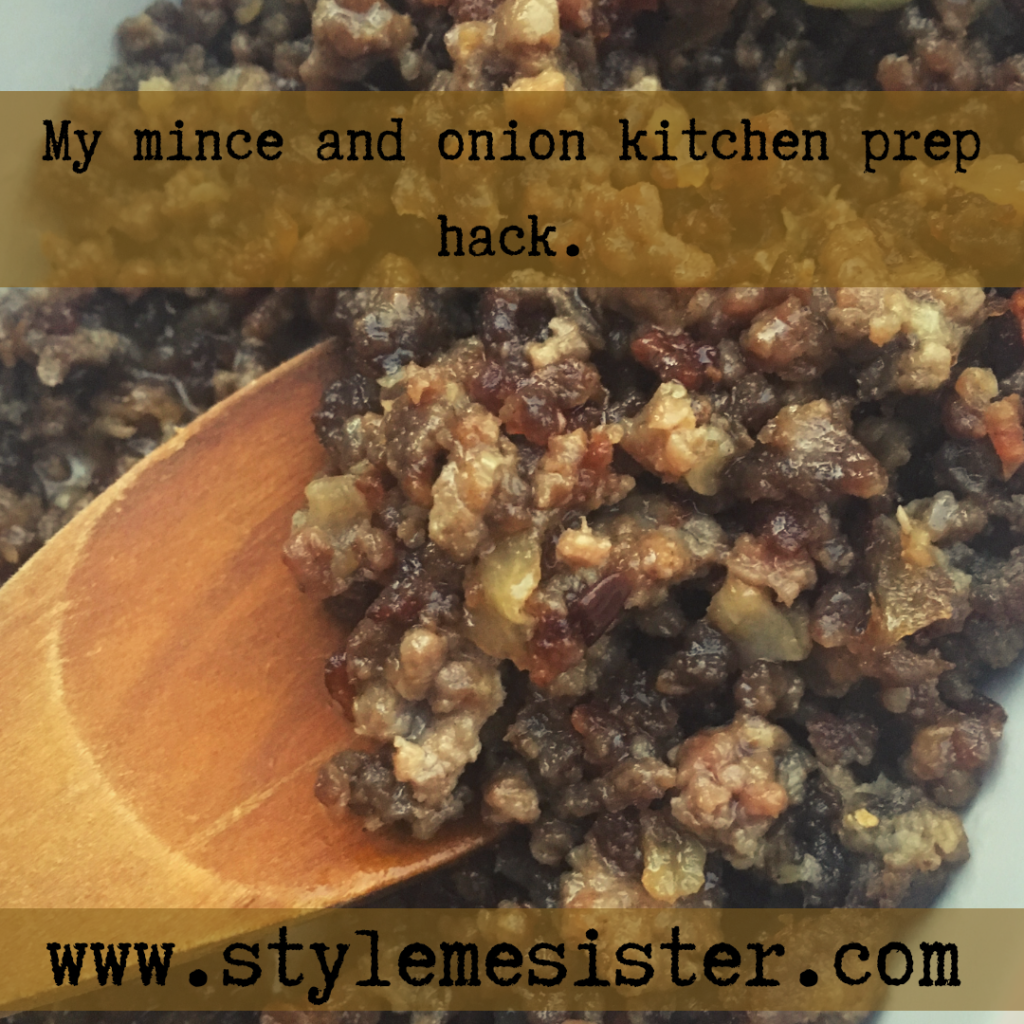
Brown off mince in bulk (so 2-3 KG at once) with garlic and onions.
I then drain and cool the mince before portioning the mince up and freezing it.
The result?
I have mince ready to go in:
Pasta sauces
Curries
Chili con carne
Shepards Pie
Cottage pie
Etc etc etc….
Because I don’t add salt or spices I’ve got more options. I never cook mince without garlic and onions however if you wished to you could omit them.
To create 6 family meals (servings produced: 6/7 giving me leftovers for School lunches and for myself the next day) you will need:
3 KG mince (I use mutton but you can use whatever you wish to)
6 medium onions diced
A full bulb of garlic crushed/minced (yes I love garlic)
3/4 Tablespoons rapeseed oil
Extras:
kitchen paper to drain off excess fat
Storage bags/boxes to store mince in freezer (don’t forget to label the mince)
1) Heat a large pan on a medium heat (if you don’t have a large pan you may need to do the browning in smaller batches. Add the oil.
2) Add the onions and fry for a few minutes until the onions are soft. You are not going to brown them.
3) Add the garlic and fry for a minute (you don’t want to burn the garlic. And believe me that’s a really easy thing to do).
4) Add the mince and break down the mince and fry.
5) Fry for 5-10 minutes. The mince won’t look very appetizing. That’s fine! What you want is to ‘seal’ the mince by frying it. The process won’t cook the mince completely and that’s fine too.
6) Turn the heat off and drain the excess fat off. I do this by tilting my pan when its slightly cool and scoop out the mince mixture and place it on kitchen paper. I let the paper absorb the fat.
7) Bag/box up the mince and label them.
How to use the mince:
I take the mince out the night before and place it in the fridge to defrost. I then add it to the slow cooker with the other ingredients and forget about it. Job done.
You can do the same with meat and treat it the same.
I’ll be over for Dinner later guys; so get cooking!
No really; you don’t have to be Martha Stewart of Nigella to carry out successful meal planning.
I bet a lot of you have thought of meal planning and may have even done it and FAILED because of many factors. Some of the main factors that lead to epic maiden voyage failure include:
1) Not considering what your family (and you!) actually enjoy eating
2) Not considering time restraints
3) Not considering budgets
4) Not considering how difficult it maybe to get hold of ‘exotic’ ingredients
5) Not considering fridge and freezer space
6) Not considering family life on the days you are planning meals
7) Not considering the equipment you have at hand
8) Not considering how expensive some pieces of equipment maybe to purchase for a recipe you may not even like
….I could continue but I think I’ve considered the majority of you.
I know exactly how easy it can be to get carried away on pinterest an pin hundreds of lentil meatless balls recipes to a board to try when your family cannot stand lentils. I’ve been there; and that’s why today I will try to demistify meal planning and make it something you CAN do and be successful at.
Let’s dive straight in.
1) BUDGET BUDGET BUDGET
We need to keep this real y’all. How much do you have to spend a week/month. If you have a monthly budget break it down into 4 to see how much you have per week.
TIP: if you really are unaware of food prices log onto a Superstore website and look up prices on the items you’ll be using e.g. meat, pasta, yogurts. I always start by looking at the essential items.
2) How much time do you REALLY have to prepare and cook meals? Do you have a couple hours on a Sunday to prepare for the week ahead? Do you have a block once a month to make a couple of meals you an freeze? Be realistic. We all have lives. You cannot be super wifey, super mama and work long hours and cook organic vegetable lasagna with homemade pasta sheets every day.
NOTE: If you planned to do a bulk preparation session PUT IT IN YOUR DIARY NOW.
So be realistic; go through your diary/plans and look at what time you have on your hands. If your main aim is to eat healthier and you are struggling with time you need to consider freeing up time in your life; after all health is something we cannot put a price tag on.
3) What do you actually enjoy eating? What are your favourite meals? Where do you enjoy eating out?
Make a list of your favourite meals (even the naughtier ones that would give your Doctor a shock).
4) What equipment do you have (or can borrow)?
Do you have a Slow cooker? Maybe a pressure cooker? A panini maker collecting dust?
5) How much fridge and freezer space do you have? Can you brown meat/mince etc for a few days in advance or will you struggle to fit yogurt and milk in?
6) Look up recipes you’ll be using based on the food you enjoy. You may have recipe books. You could also pop into your local Library to borrow some books. Or use the internet.
7) Find a meal planner that works for you. I created my own which has enough space for me to jot down if we’ve got a busy day that day so I don’t over commit to cooking that day.
I keep my Family Calendar on the table as I plan my meals; this helps majorly because I can also see if I need to prepare lunches etc too (which I often use leftovers for).
Note: NOT all the meals I cook are from recipe books. Some are meals I’ve grown up on or use weekly.
You don’t need to try new recipes every single night! That’s going to stress you even more.
If you are an expermental cook set aside maybe two nights a month to try something new. I would ensure you either have leftovers from the night before or a simple meal alternative incase the meal doesn’t go to plan (so maybe the night after a Roast meal. That way you can use leftover roast chicken in tortilla wraps and make cheese and chicken quesadillas and serve them with a dollop of yogurt or sour cream).
Now the fun bit: plan out your meals. I try to make life easier by having rough outlines to what I am aiming to cook on a weekly basis based on what the family eat so I have sub-categories:
Once a week pizza (frozen)
Once a week Pasta dish
Once a week Mince based meal
Once a week Chicken based meal
Once a week Roast chicken meal (with/without all the sides depending on what we fancy)
Once a week fish option
One a week vegetable/lentil based meal
Now some weeks I don’t cook a meal from all those categories but we try our best to vary our diets as it’s important to not get bored with meals and to get as many vitamins, protein etc as recommended.
Some meals cross over more than one category for example:
Chili con carne ‘Shepard’s pie’-it contains mince and a hearty dose of vegetables in the carrot and root vegetable topping. It also contains red kidney beans (lentils=extra protein).
Desi style keema pasta bake: contains pasta and mince chicken. So it’s a pasta dish, contains chicken which is mince.
Notes:
I don’t usually plan lunches UNLESS it’s the holidays as we’re usually busy and I get bored of sandwiches everyday.
I also increase food budgets in holidays because you have extra people around at lunch time.
I also reassess time restraints in holiday lunch planning.
8) Do you shopping after checking what you have in that you will be using.
9) PRINT out your meal plan and keep one on the fridge, one on the family notice board (if you use one) and once in your planner. Whilst you are getting used to meal planning you can do with having gentle reminders.
10) And for the big event itself: get cooking based on your Meal Plan.
What happens next?
Firstly, don’t panic if things don’t go to plan at first. You may have glitches and that’s fine!
Have back up meal ideas if you are trying something you are not sure will go down well with the family (I offer my children toast, beans on toast, spaghetti on toast etc as alternatives to anything they get to fussy with).
NOTE down which meals worked best and which DIDN’T. It’s absolutely fine to cook the same meal a few times a month. It’s also fine to rule out certain dishes too.
Extra useful TIP: I made a list of 7 meals by children and I enjoy and I always include them on the plan. ALWAYS. I also have a Pizza meal night which is Friday’s. I use frozen pizza and that takes away another 3/4 meals a month. That helps me a lot and my girls get their treat too (whilst watching a movie).
Give yourself a pat on the back because getting used to meal planning at first can be very stressful!
I hope that’s helped you somehow: I wish someone had explained to me the basics of meal planning when I first started planning meals and also pointed out that I didn’t have to try something new everyday; and I don’t have to cook anything we don’t enjoy (if your choice is based on nutritious value look for an alterative because in all honesty meal time struggles are not worth the energy lost).