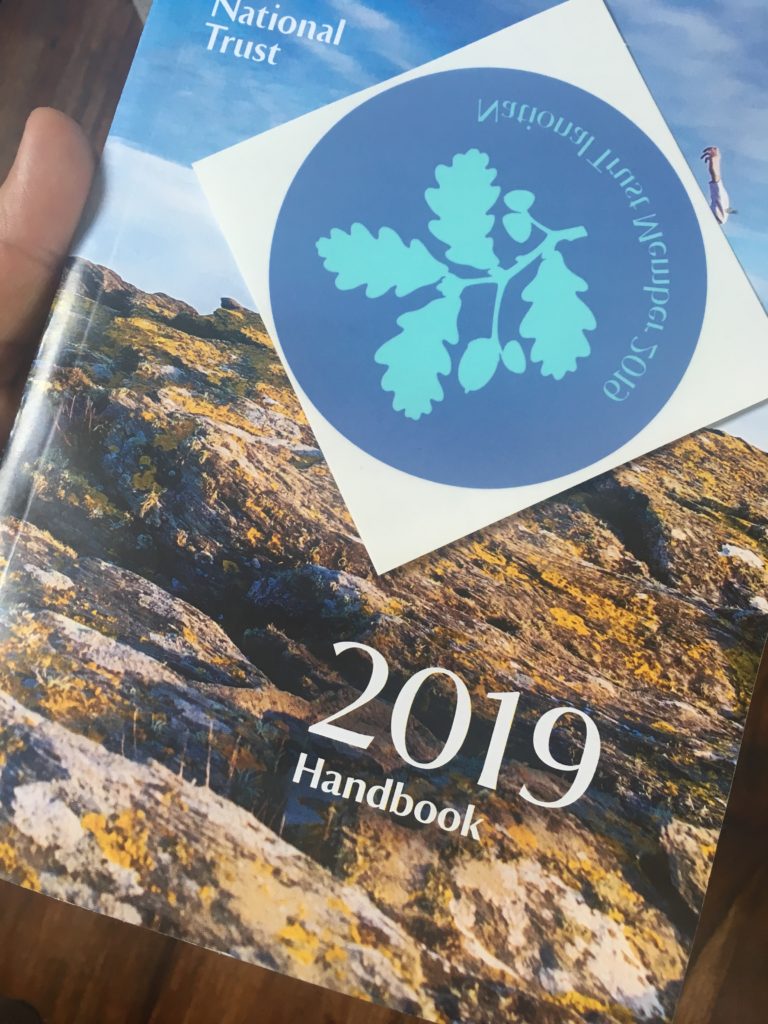
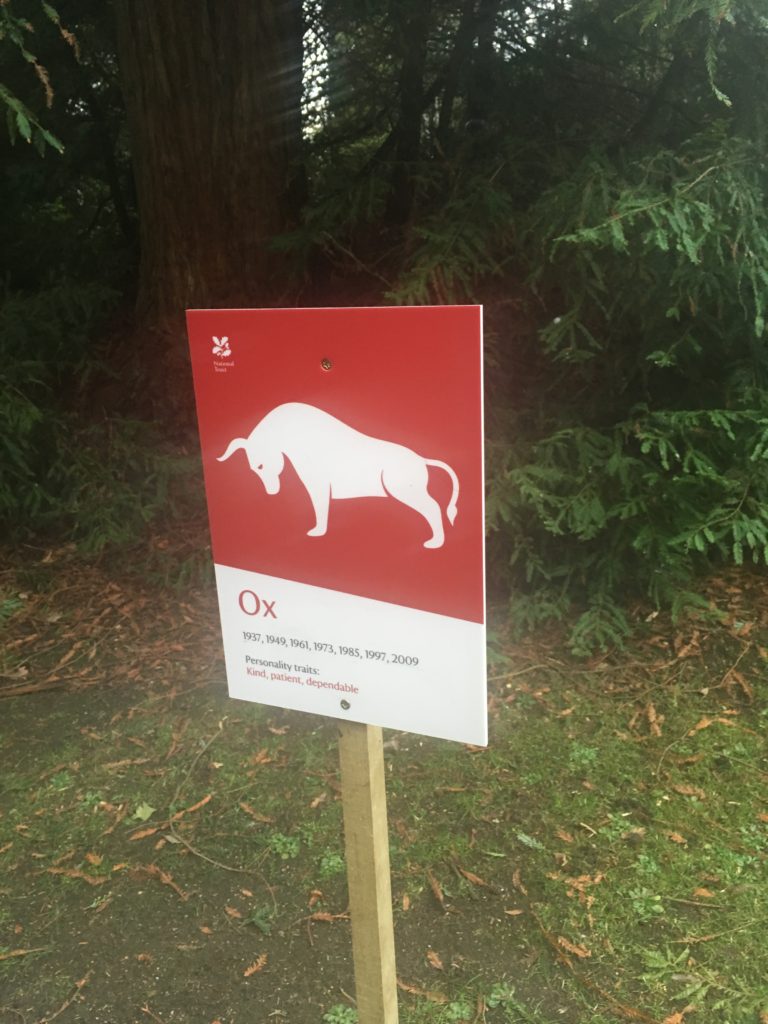
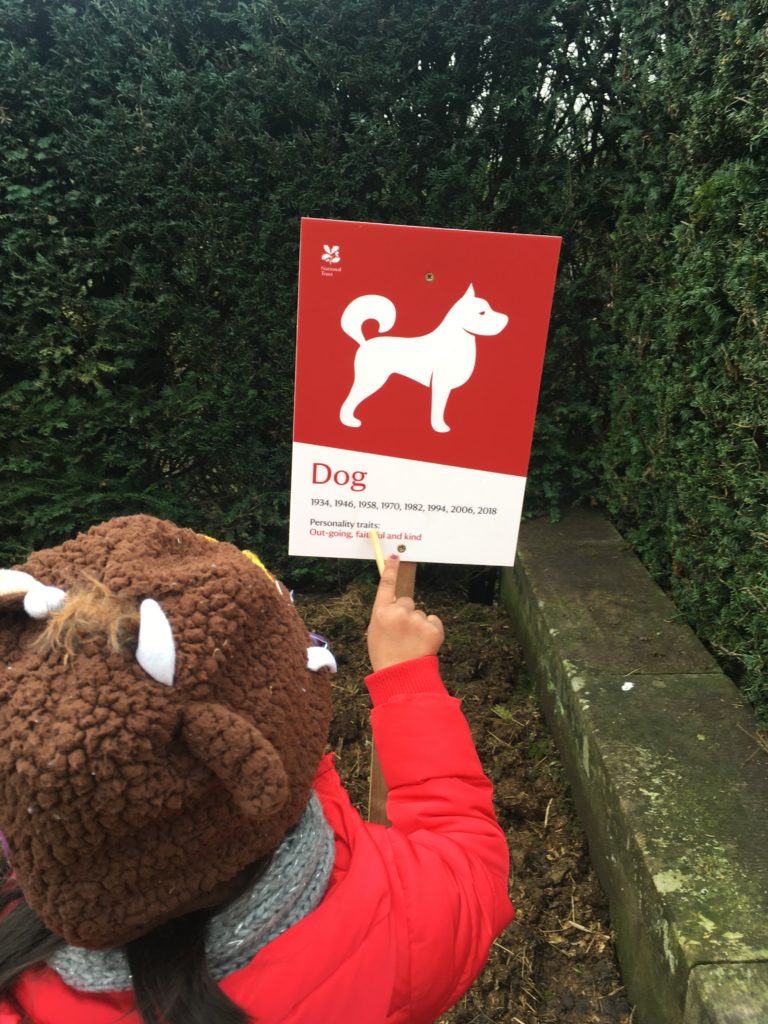
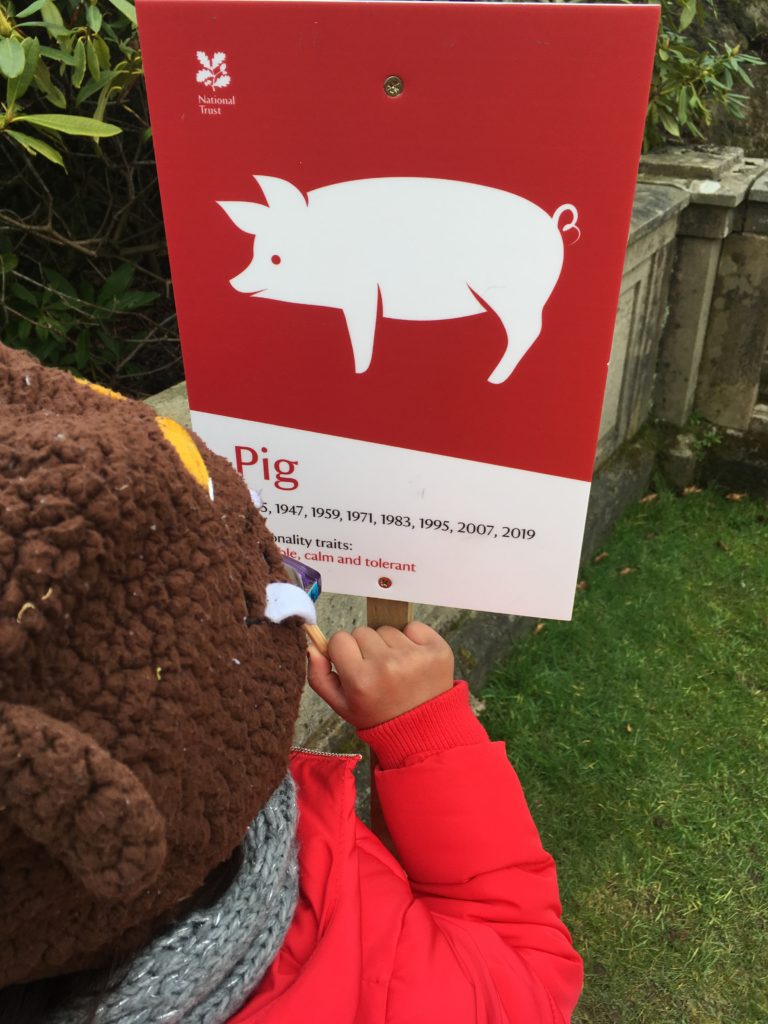
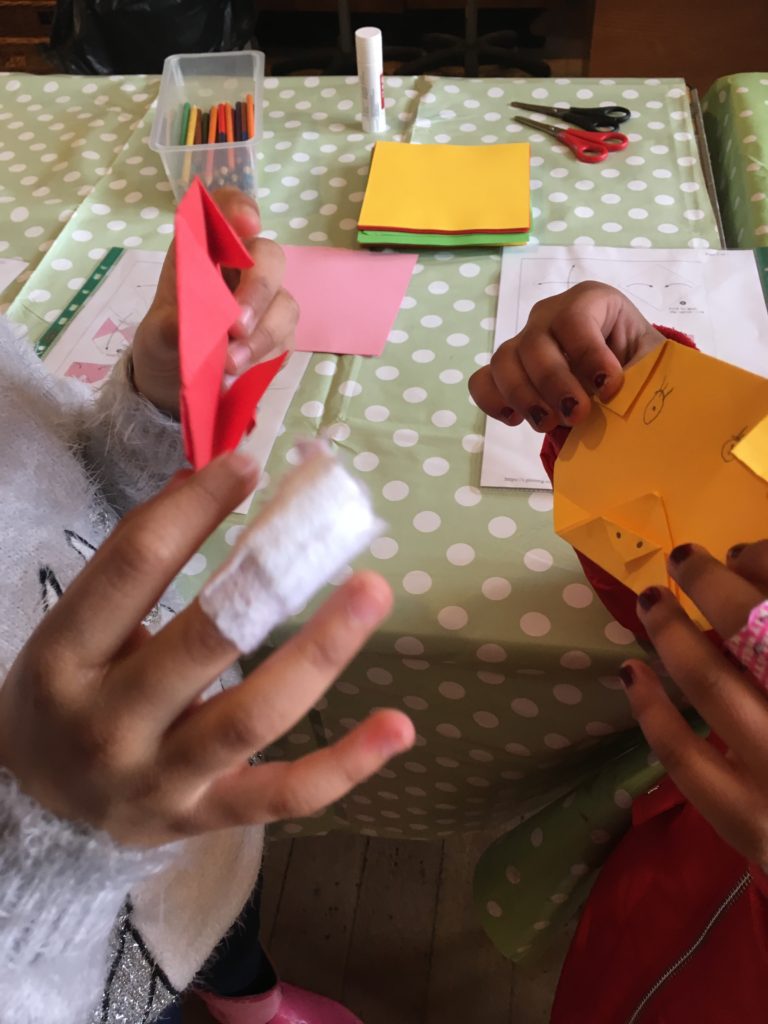
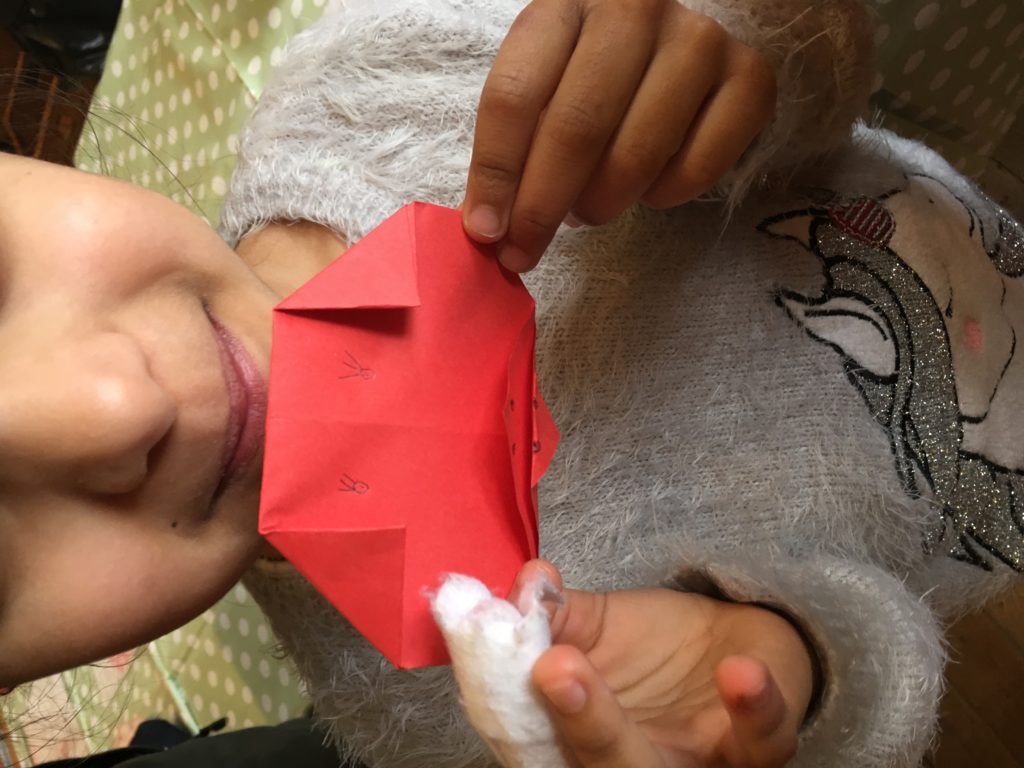
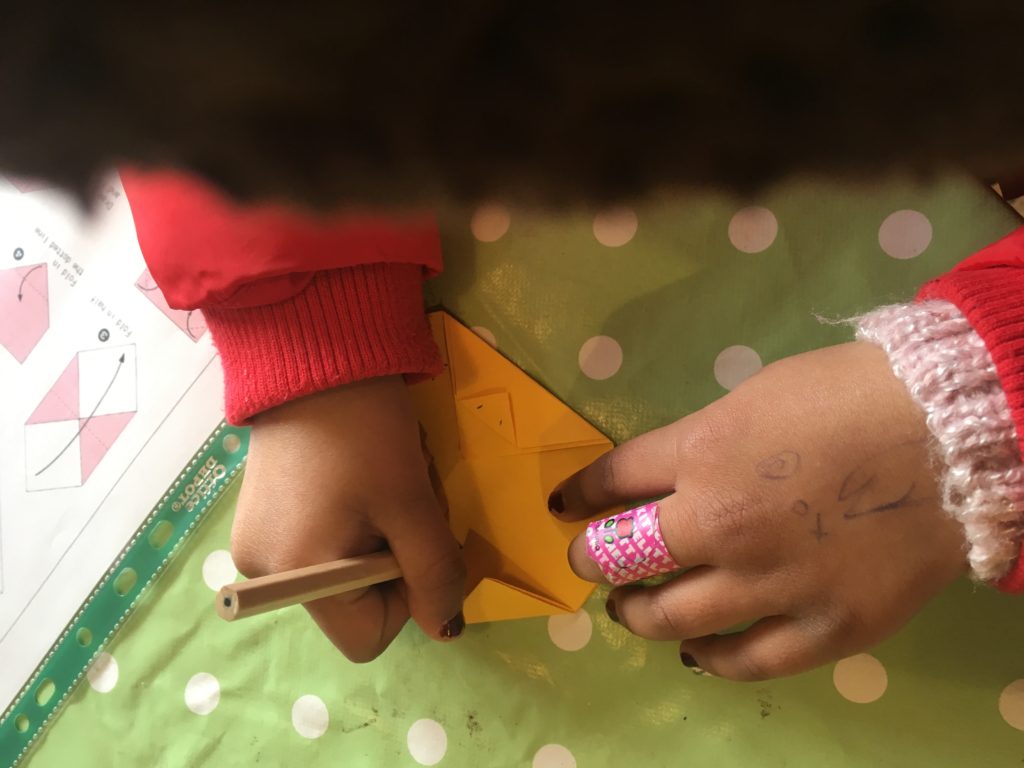
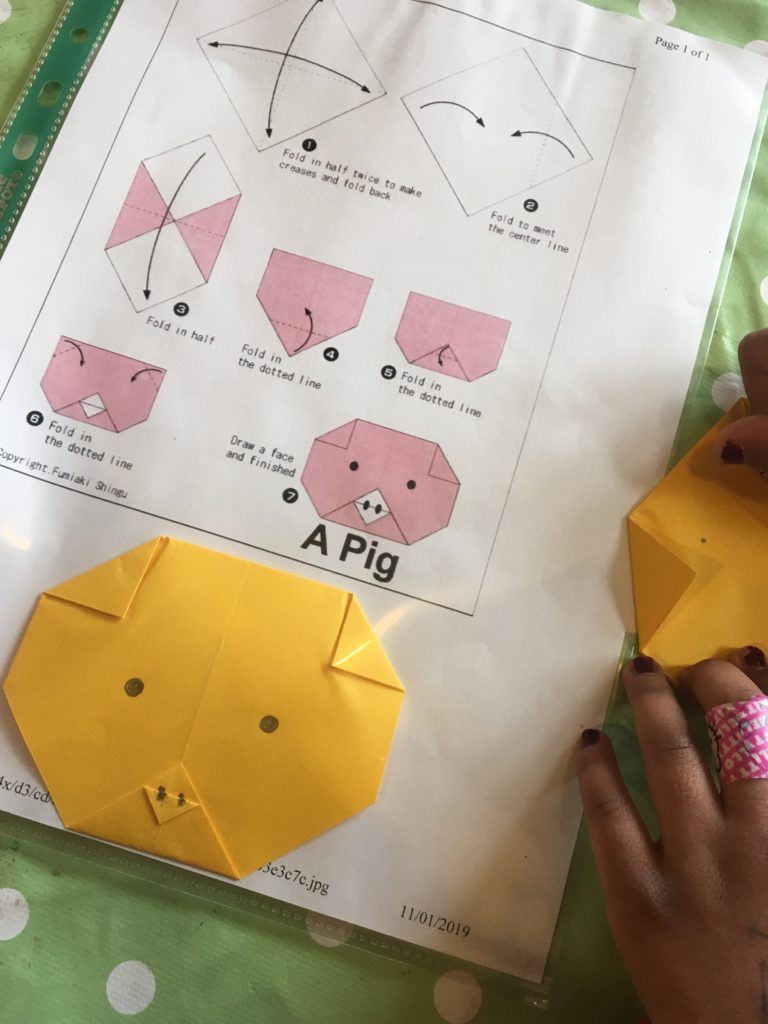
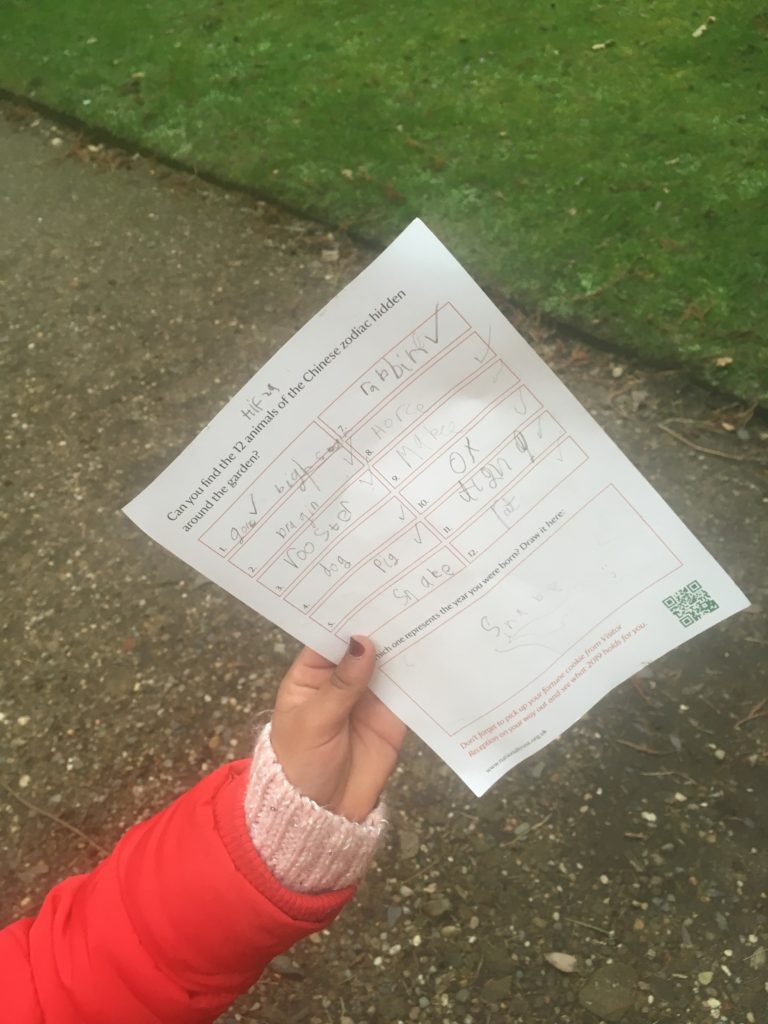
We love Biddulph Grange Garden and as National Trust members we love to visit venues near to our home.
We hope you enjoy our gallery of fun.
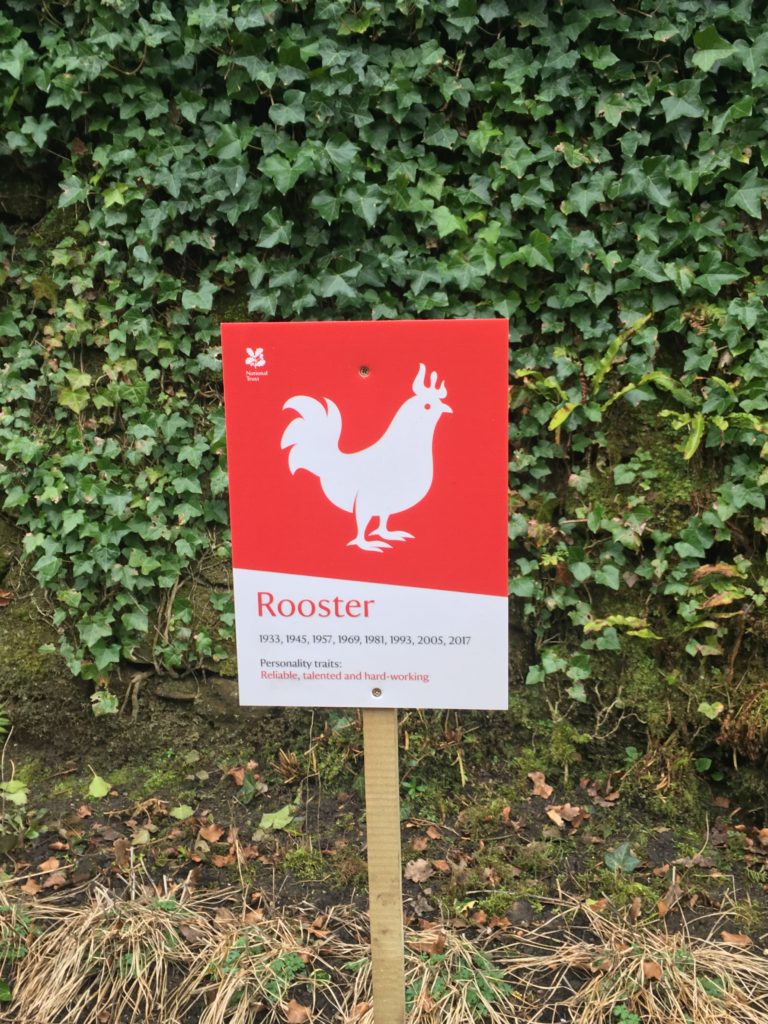
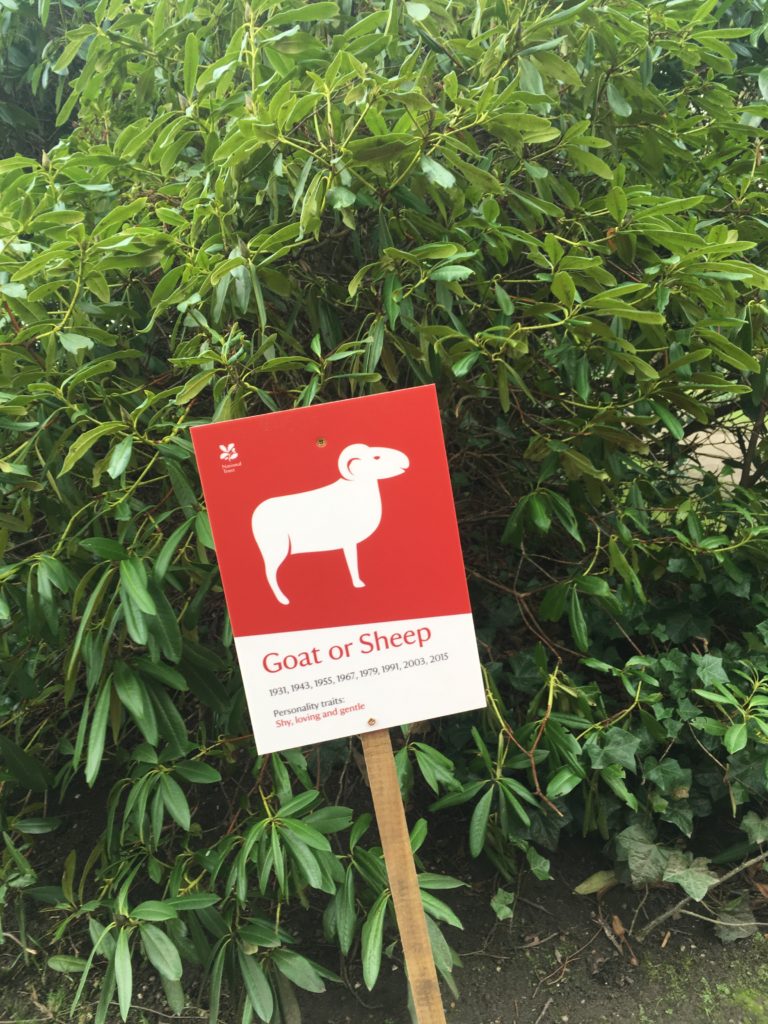
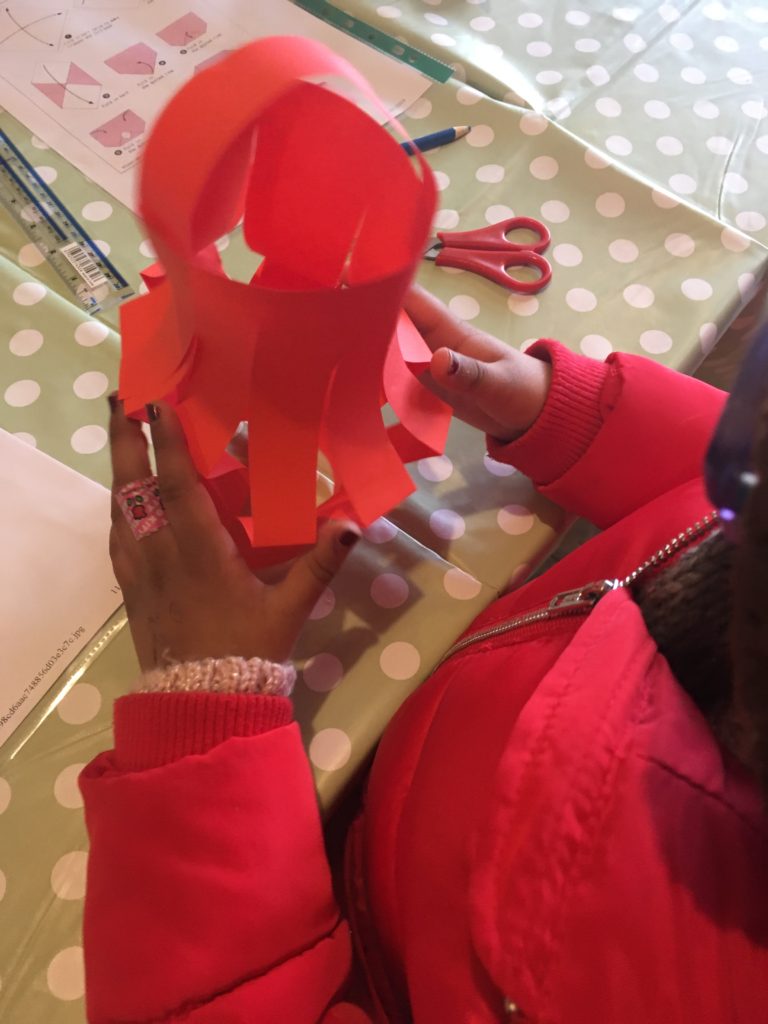
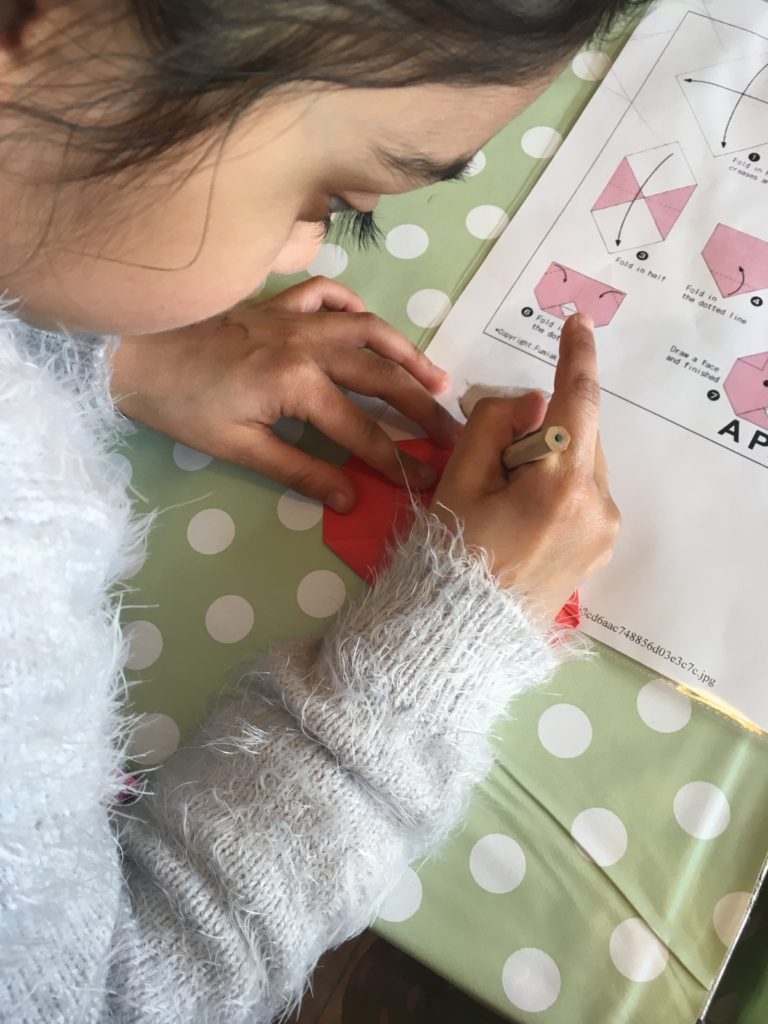
We spent time doing the Zodiac trail, arts and crafts and enjoying the fresh air.
Lifestyle blog for Modern Muslimahs
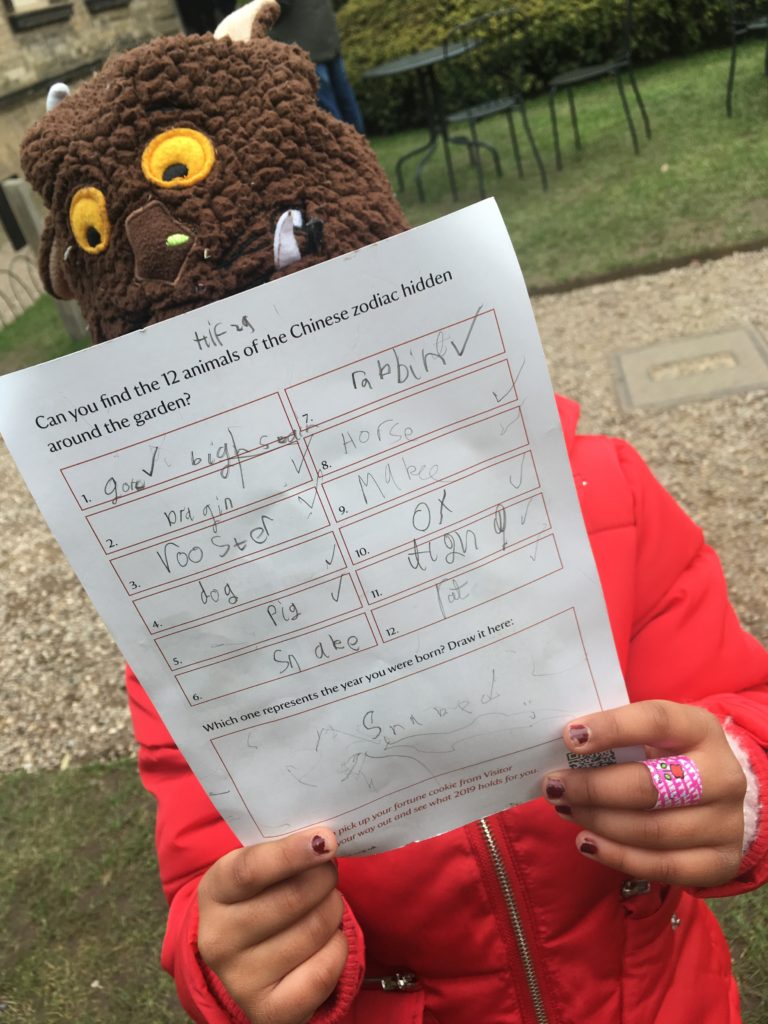
We love Biddulph Grange Garden and as National Trust members we love to visit venues near to our home.
We hope you enjoy our gallery of fun.
We spent time doing the Zodiac trail, arts and crafts and enjoying the fresh air.


70 DAYS until we are greeted by the holiest month of the Islamic year. As promised here is a breakdown of goals I am setting to get best out of Ramadan.
Life & Spirituality:
Break down your responsibilities over Ramadan and sort out your time table for the Holy month. Then you can plan your time WISELY. But the first step is to sort out your calendar/dairy.
Ideally you only want to keep the responsiblities that cannot be moved or take a back burner until post Ramadan.
These in my opinion are:
Work, responsibilities towards family (School runs etc), College/Education and of course your development as a Muslim (prayers, meditation etc).
For some these may include community volunteering and even the gym. But you get the idea.
What can be delayed/moved?
Meeting up with friends, sleep overs for the children, other social events, binge watching box sets…you get the picture.
Knowing how much time you have to commit to Ramadan activities exclusively will help you map out what you want to achieve better. It helps me not over commit and under achieve.
Long fasts….Iftaar parties are so tiring….
As Ramadan 2019 is during the hotter months (with a long day) organising Iftaars is a lot of work and can be very tiring.
So what are your goals for Ramadan? Why not leave us a comment below and inspire others too.
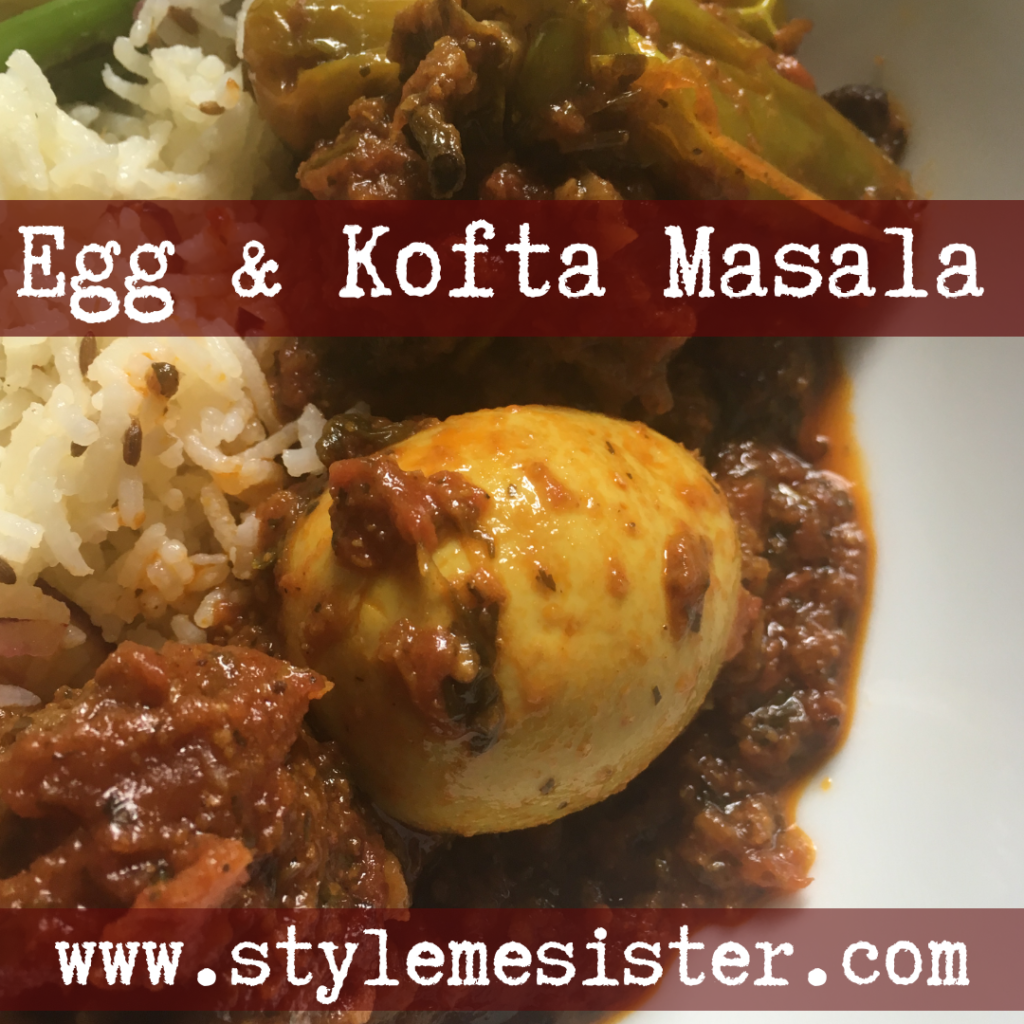
I have a confession to make; I love Nargasi koftas but I seriously cannot stand the hours needed to create these egg filled delights and cook them. Most probably because I’m usually cooking around other tasks and don’t have hours on end to commit to cooking one dish.
So my compromise is this dish: Kofta and Egg Masala. It contains koftas and eggs and it doesn’t take all day to cook and it tastes awesome.
There isn’t much ‘sauce’ (curry/gravy-whatever you choose to call it) so it’s not a wet curry. I just thought I would mention that.
I’ve actually broken this recipe down so that if you cannot actually cook it all in one go you can break up the workload over 2 days. If you wish to cook it in one go just work your ways through the steps.
As I utilise the use of my oven I can place the dish in there to cook and get on with other tasks.
I actually serve this rich dish on Eid; it’s that good.
Serves 4/6
Ingredients:
500 grams minced lamb/mutton
1 slice of bread (whizzed up in a food processor)
Salt-to your taste
1 tsp red chili powder
1 tbsp coriander powder
1 tbsp cumin powder
1 tbsp coriander seed leaves chopped finely
1 green chili chopped finely (optional)
1 small onion finely chopped
To fry the koftas: 1 tbsp oil
Non-stick frying pan
For the masala:
1 400 gram tin of tomatoes (pureed/liquid in a food processor)
1 medium onion finely chopped
4 cloves of garlic crushed
1x 1 inch piece of ginger (Whole-remove before serving)
1 large cassia bark stick (can be removed before serving-it’s not edible in case you were wondering)
2 tbsp coriander leaves finely chopped
2 tbsp rapeseed oil (or other oil to your liking)
Salt-to your taste
1 tsp red chili powder
1 tbsp garam masala
1 tbsp coriander seed powder
1 tbsp cumin powder
3 bullet chilies sliced in half
6 hard boiled eggs-peeled (you’ll need to cut a small slit into each egg to prevent them from possibly exploding in the oven. Chances are slim but I despise cleaning the oven!).
To serve: lemon wedges & naans (I also serve this with Pulao rice or Jeera Rice).
1) Take the mince out of the bag. Do not wash it. That will create a big mess so please ask your butcher to just wash the meat before they mince it. Add all the ingredients listed for the koftas. Now mix until the ingredients are evenly distributed. I find the easiest way to do this is by hand. Yes your hands will get messy but your hands really are the best tool for the job.
Now comes the fun part: shape your meatballs (koftas). I take about a walnut size piece (a heaped tablespoon even) and squish the mixture together as tight as possible. Place on a plate/tray. Shape all the koftas. You can either place the shaped meatballs in the fridge for 30 minutes to 3 hours and then move onto step 2 or just move onto step 2. Seriously. I rarely chill the koftas I never have the time.
2) Heat one tbsp of oil in a medium sized non stick frying pan. Now fry your koftas to basically seal them and give them a bit of colour. Do not keep turning them over; they will break. Instead check them by gently lifting one after 3/4 minutes and if they are golden turn them over. Seal on the other side. This step takes around 15 minutes.
3) Once the koftas are brown take them out of the pan and place them on kitchen paper to drain off any excess oil. I usually give the koftas a pat all over with kitchen paper and I don’t like lots of grease. That’s optional.
IF YOU ARE PREPARING THIS DISH STEP BY STEP: once the koftas have cooled down place them in a ziplock food bag or a freezer proof container with lid. Place in the freezer and use within a month.
4) Once you’ve got the koftas done you’ve actually got the hardest bit done. To make the masala heat the two tbsp oil in an oven proof cooking dish on a medium heat. Add the onion and fry until lightly brown. Add the ginger and garlic and fry for 2 minutes or until the garlic is lightly brown. Now add the salt, cassia, powdered spices and stir. If you find the mixture is sticking to the pan feel free to add a tbsp of water. Repeat if required. Fry for 3/4 minutes. At this stage you are cooking out the spices.
4) Now add the tomato liquid/puree. Stir well. Now add the sliced chilies (if using) and half the chopped coriander leaves. Cook on a gentle heat until you start the see puddles of oil literally separating from the tomato mixture. This indicates your masala is done. Yay!
5) IF YOU ARE PREPARING THIS DISH STEP BY STEP: You can turn off the heat once the masala is done. Cool it down and place the mixture in a ziplock food bag or freezer container and freeze the mixture for up to a month. Or if you wish you can make the masala up to two days in advance and cool it and place it in a suitable container in the fridge. Yes it really is that simple.
6) If you are cooking this recipe in one go: add 400 ml of water to the masala and turn the heat up and bring to the boil. The masala may look at bit watery. Don’t worry, this is normal. The texture improves in the oven. Turn the heat off.
IF YOU ARE PREPARING THIS DISH STEP BY STEP:
Defrost the koftas and masala overnight in the fridge. Alternatively defrost in a microwave and ensure both items are thoroughly defrosted before use. By preferred method is defrosting in the fridge.
To cook complete the dish using frozen products:
Place the masala in an oven proof dish. Spread it out evenly. Add 250 ml (approximately a glass) of water and place the dish in the oven at 180 for 15 minutes. Remove from the oven. Lower the oven temprature to 150. Proceed to step 7.
7) Add the Koftas to the masala. Stir to cover the koftas. Cover the pan before placing in the oven. If your dish doesn’t have a lid (or let’s face it you cannot locate it in your overloaded cabinets) cover loosely with a piece of foil-shiny side outwards). Now bake at 150 for 45 minutes.
8) After 45 minutes take the koftas out of the oven. Your koftas will be cooked at this point. Now add the eggs. Stir so they are covered in the masala. If the masala has evaporated you can add 3 tbsp of boiling water (be careful) to the mixture and stir well. This will give you a bit of sauce to work with. Cover the koftas and return the oven for 10 minutes.
9) Take the koftas back out of the oven…and your dish is ready to serve. Sprinkle on the remaining coriander. Serve with naans and a wedge of lemon. Enjoy.
NOTES:
This dish isn’t suitable for freezing unless you remove the eggs.
Do not refreeze the kofta masala if you are using frozen koftas or masala.
I find this dish also goes superbly with jeera and lemon rice.

Don’t get me wrong; you don’t need specialist equipment to cook a decent Curry or Pulao Rice at home however I’m Asian and we do things a certain way. So here are my gadgets and gizmos I use a lot of when I am cooking ‘desi food’.
1) Spice grinder aka a coffee grinder.
I try my best to avoid pre grinded spice mixes as I love fresh spices. It’s as simple as that. So I try and buy my spices whole and grind down a months supply at a time. I know the old skool amongst you will say you need a mortal and pester…and that’s fine too however the grinder is faster.
NOTE: I purchase pre-made (grinded) chili powder. For real the pain of making your own is crazy so please do not try it at home).
2) A tava (flatbread pan)
If you make parathas, rotis etc at home I recommend you invest in a good tava. I also use mine to make delicate kebabs (Shaami) on my tava.
3) Electric Rice Cooker
Yes I know my Nanny wouldn’t have had one of these knocking about in her kitchen however modern day cooking in the West is much more different to the homeland. I love my Rice Cooker as it’s awesome for cooking boiled rice, pulao and even biryani. My Rice Cooker has a saute function which makes it uber useful as my kitchen aid. I often freeze pulao masala. When I defrost it I can stick it in the cooker with rice and stock and voila! Perfect pulao.
4) Small frying pan (a one egg pan would be ideal)
I dry roast my spices before grinding them to get maximum taste out of the spices. I have a small pan I keep for just spice roasting. But if you are serious about your desi food you’ll understand my passion of maximum flavour.
5) Strainers
If you cook daal or rice you’ll need a strainer or three. I have fine mesh ones for lentils and rice.
6) Steel bowls (in different sizes)
Great for when you need to make dough and leave it to proof, or make up pakora batter etc.
7) Rolling pin (wooden thin one especially for making super cool rotis.
I purchased mine off eBay.
8) Tin opener
I use tinned Alfonso mango puree to make Lassi as well as using tinned tomatoes in curry bases. So a tin opener is an essential item to have on hand.
9) Wooden Tongues
Ever burnt your fingers turning over a paratha? Painful! So I use wooden tongues to turn over rotis etc.
10) Mortal and pester
Chutney made in one of these is out of this world. Enjoy said.
Other items that come in useful include:
ikea Garlic Press/crusher
Pressure King Pro (for the Pressure Cooker function which is useful for cooking pulses)
Chopping boards & sharp knives
A range of cooking spoons (separate ones for sweet and savoury)
Small frying pan for tempering
Bouquet garni muslin bags-I put the whole spices in them for making ‘yakni’ (meat stock)
I admit that I actually include store bought Pizza on my meal plans and if I’m totally honest those nights are pretty hassle free when it comes to time in the kitchen.
Over the last few years I have picked up some hacks I use daily and some that I don’t event get how they made it to pinterest (but that’s a different story).
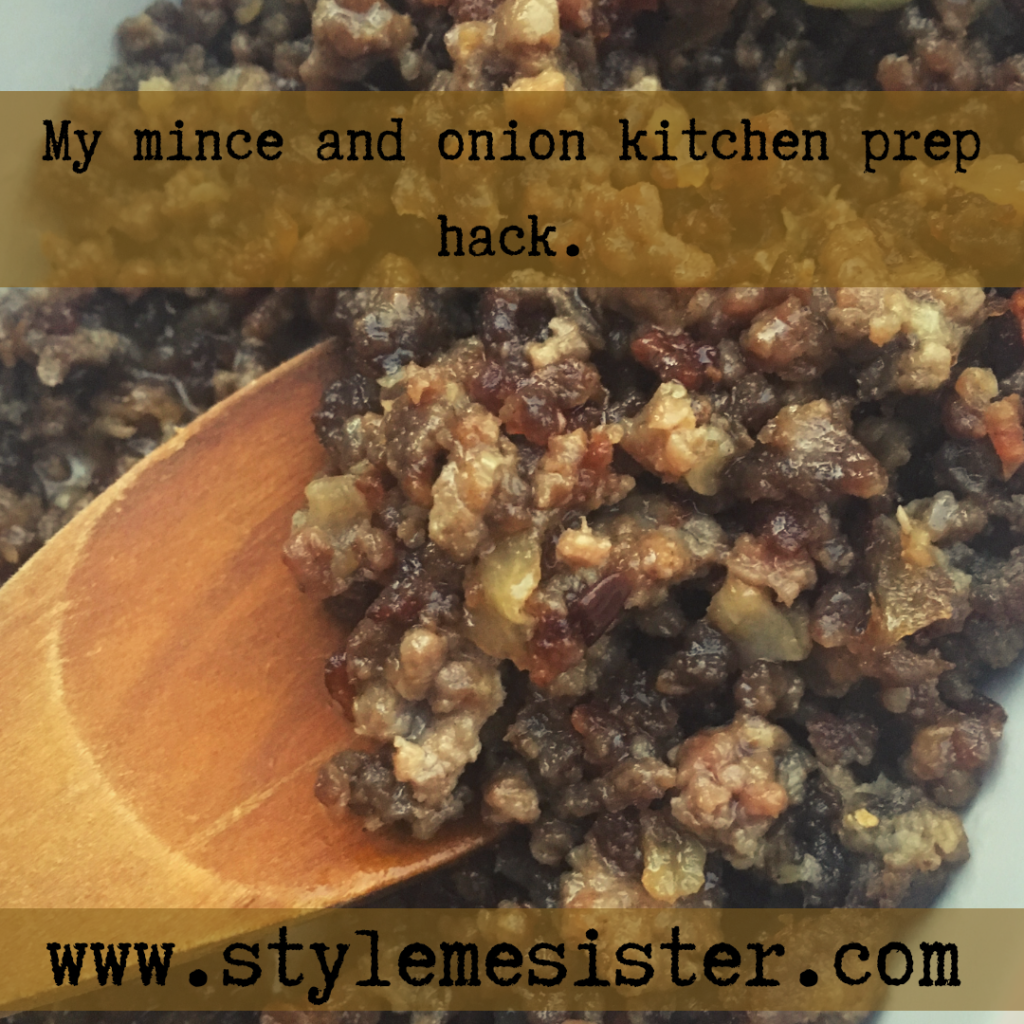
One hack that I recommend to everyone is bulk cooking; but in various formats.
If like me you use your Slow Cooker (aka Crockpot) at least once or twice a week this hack is going to be your bestie…just trust me on this.
When I talk to friends about using a Slow Cooker for making curries or sauces I often get met with the looks and comments that ‘it won’t taste right because the meat wasn’t browned!” which is quickly followed by “my family will never eat it as it tastes bland/different”.
One of the reasons I started using my slow cooker was to reduce the amount of time I spent in the kitchen. I felt I was tied to the cooker and wasn’t enjoying my food and developing poor editing habits. I started to dislike cooking and that was a problem for me. I never want my children to think cooking is a chore; I’m a believer that everyone should have the skill to cook healthy food. I don’t know where my girls may end up at University level so I honestly want them to have cookery skills and also enjoy the time they spend cooking (after all if you’ve got to do it why not enjoy it?).
We enjoy curries, mince based pasta dishes, casseroles….various meals as a family. A lot of these dishes call for braising of the the meat before adding liquids and the other ingredients. Now on some slow cookers you have this function which is bloody awesome! But not all models have this. Which is a shame.
Considering how simple I like to keep things when I cook things in the slow cooker I decided to do the following:
Brown off mince in bulk (so 2-3 KG at once) with garlic and onions.
I then drain and cool the mince before portioning the mince up and freezing it.
The result?
I have mince ready to go in:
Pasta sauces
Curries
Chili con carne
Shepards Pie
Cottage pie
Etc etc etc….
Because I don’t add salt or spices I’ve got more options. I never cook mince without garlic and onions however if you wished to you could omit them.
To create 6 family meals (servings produced: 6/7 giving me leftovers for School lunches and for myself the next day) you will need:
3 KG mince (I use mutton but you can use whatever you wish to)
6 medium onions diced
A full bulb of garlic crushed/minced (yes I love garlic)
3/4 Tablespoons rapeseed oil
Extras:
kitchen paper to drain off excess fat
Storage bags/boxes to store mince in freezer (don’t forget to label the mince)
1) Heat a large pan on a medium heat (if you don’t have a large pan you may need to do the browning in smaller batches. Add the oil.
2) Add the onions and fry for a few minutes until the onions are soft. You are not going to brown them.
3) Add the garlic and fry for a minute (you don’t want to burn the garlic. And believe me that’s a really easy thing to do).
4) Add the mince and break down the mince and fry.
5) Fry for 5-10 minutes. The mince won’t look very appetizing. That’s fine! What you want is to ‘seal’ the mince by frying it. The process won’t cook the mince completely and that’s fine too.
6) Turn the heat off and drain the excess fat off. I do this by tilting my pan when its slightly cool and scoop out the mince mixture and place it on kitchen paper. I let the paper absorb the fat.
7) Bag/box up the mince and label them.
How to use the mince:
I take the mince out the night before and place it in the fridge to defrost. I then add it to the slow cooker with the other ingredients and forget about it. Job done.
You can do the same with meat and treat it the same.
I’ll be over for Dinner later guys; so get cooking!